
Create and run a project
Creating a new project
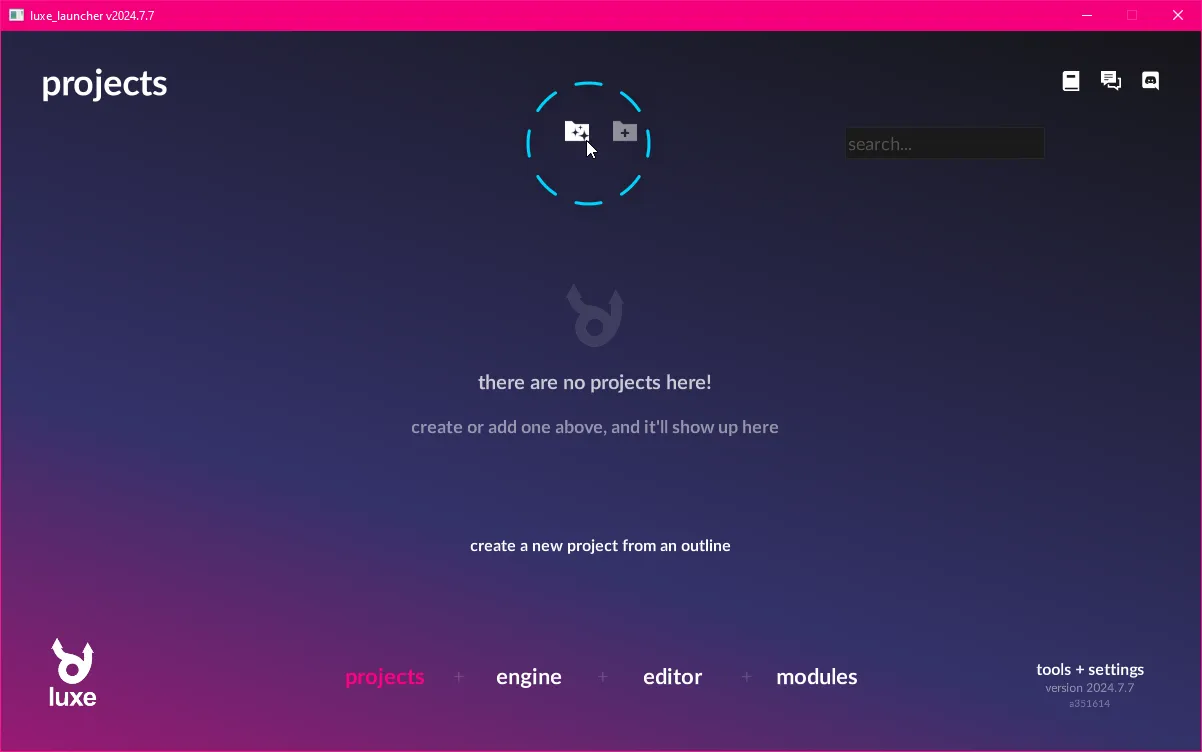
Section titled “Creating a new project”In the luxe launcher application, we’ll find a create button in the middle near the top of the window. Click this to choose a project outline to use for the new project.
For this tutorial, we’ll make a new project using the empty outline.
Select it to be taken to the outline config page. An outline is a project template.
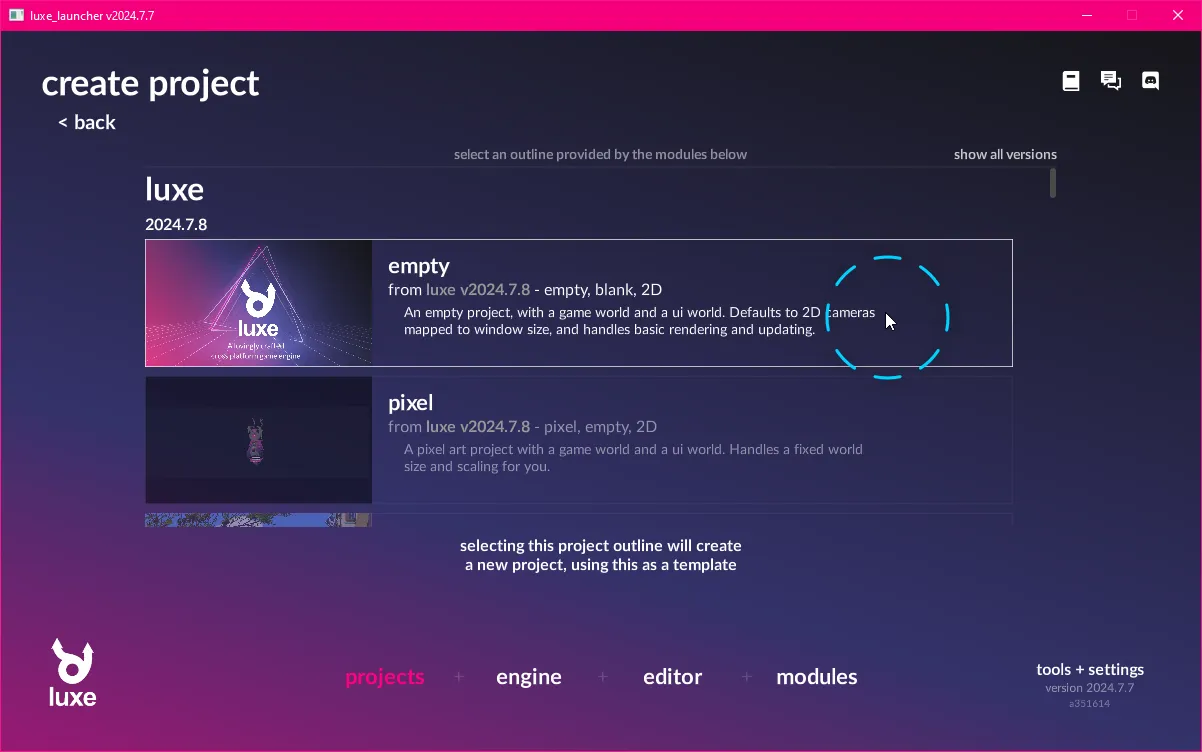
In this outline, there aren’t many settings! Just a name, and a location to save the project.

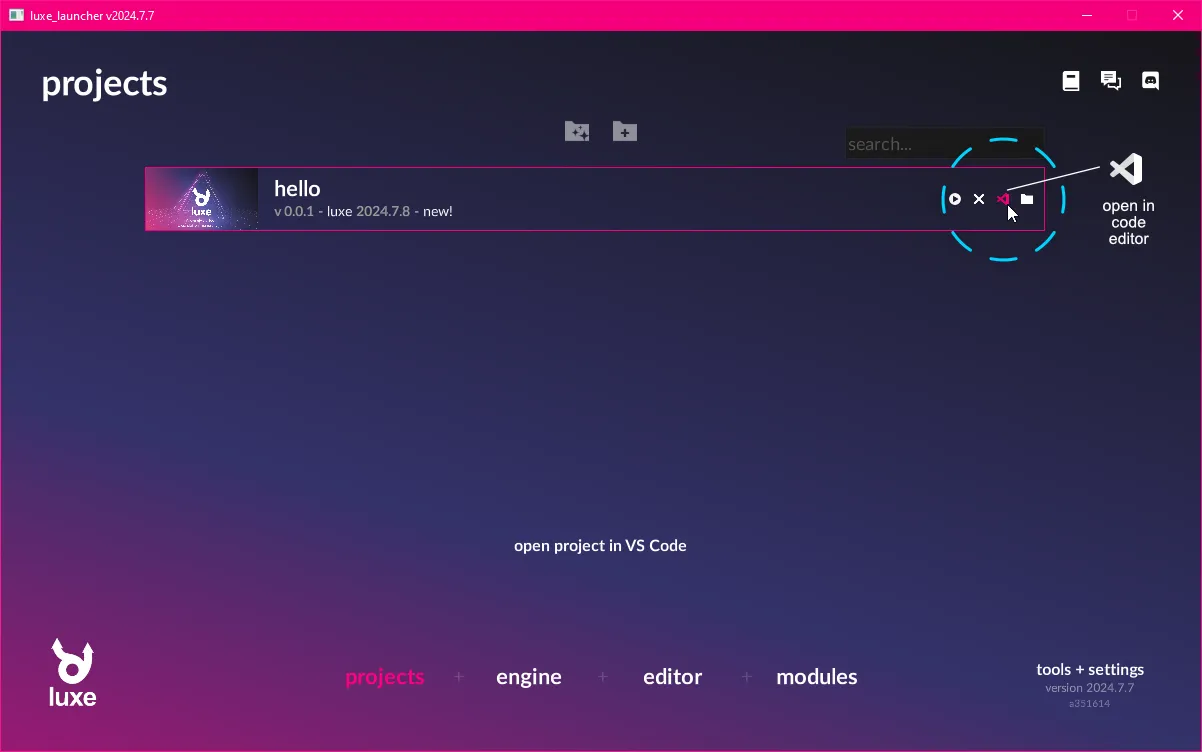
Once you hit create, it will show the project in the project list (see next image).
Stepping stones
Section titled “Stepping stones”The luxe launcher is used for managing projects, engine versions and modules.
We used it to create a project to manage, but what can we do with it now that it’s created?
- Run the project as a game
- Edit the project code and content via a code editor
- Edit the project content via the luxe editor
- Make a build of the project as a game we can share with others
We’re going to be using the code editor to run the game.
To do that the launcher has a shortcut for us to use to open it! Once we switch to the code editor, we won’t need to launcher as much for now.
Running the project
Section titled “Running the project”For the next step, we’ll want to open the project in Visual Studio Code.
You can use the code editor icon that is highlighted.
Moving your mouse over these icons will describe what they do.
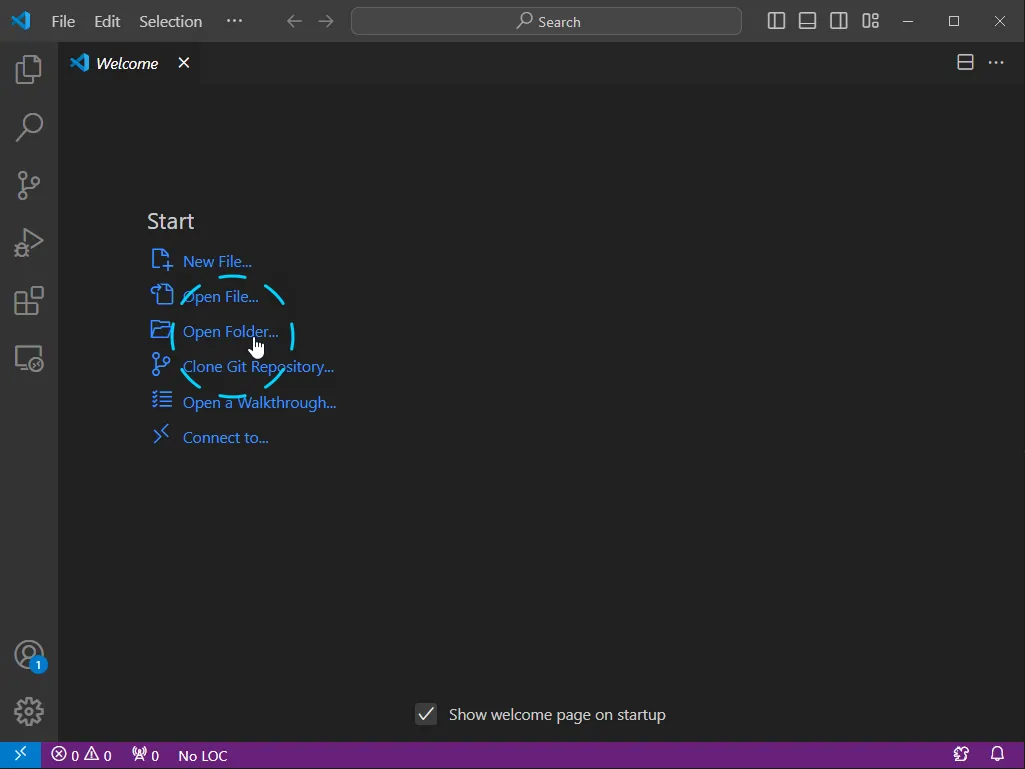
As another option, you can use Open Folder... in Visual Studio Code.
Select the same folder you just created, and it will open as a luxe project workspace.
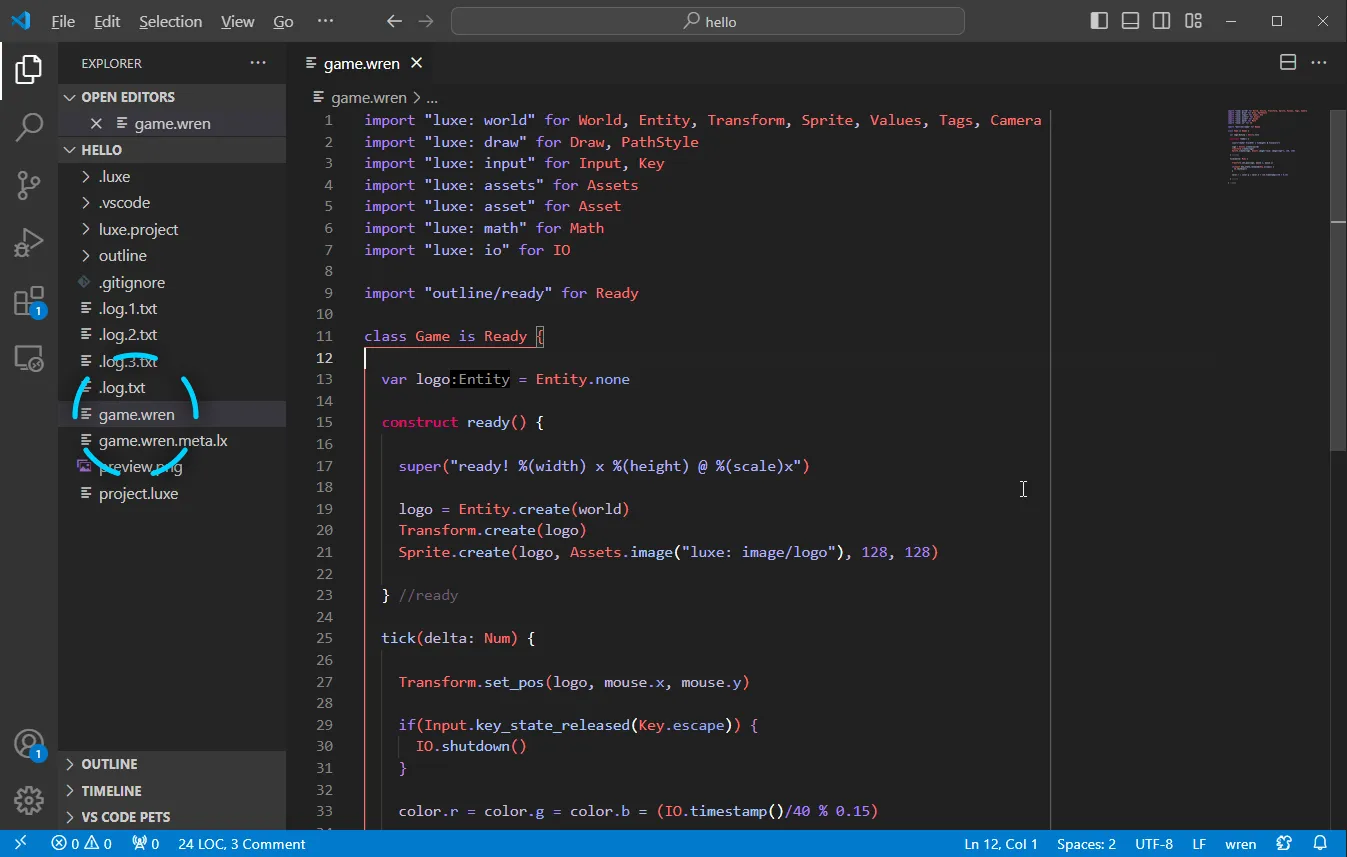
The project entry point
Section titled “The project entry point”Your project usually contains a file called game.wren.
This is a text file but our code editor will color the words and make it easier to understand.
If you select game.wren on the left hand side bar, it should open the contents inside the main view.
Running the game
Section titled “Running the game”Now that we have a game, we need to be able to run it to test it.
Let’s run the game and see what the empty template creates for us.
With the main code editor window showing our game.wren file:
Alternative: using the Terminal main menu…
An alternative option is to use Terminal from the main menu, and choose Run Build Task.... This shows a list of options, find the luxe options and within that, luxe: run.
Try it!
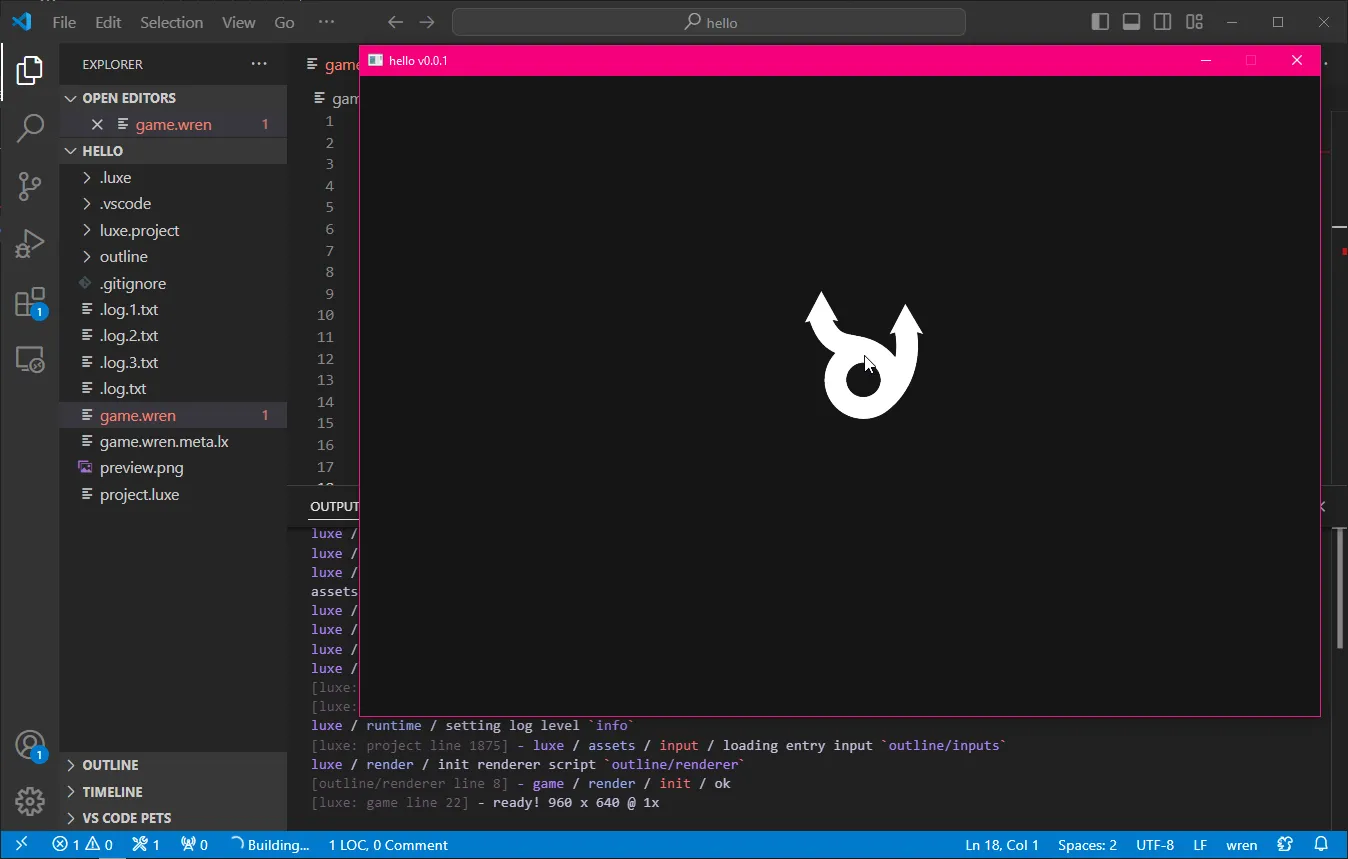
If nothing went wrong you should see a window with the luxe logo that follows the mouse.
Next up…
Section titled “Next up…”If you look around your game.wren file you might notice a ready function, and the tick function.
ready- Here is where you can load a level, make a menu show up. It’s what happens first, and you control what happens next.tick- This function runs once every frame, and is where we can make the game update and draw.
In the next tutorial, we’ll learn about receiving input, and make a small game!