
Implement the pillar
In the game code, use the Random class to randomly pick a pillar to spawn instead of always spawning the same one.
This tutorial is an introduction to working with the luxe editor, not a complete guide.
The typical workflow for opening a project in the editor is to click the project in the luxe launcher. As you hover a project it will show the path and ‘select to open in editor’ at the bottom.
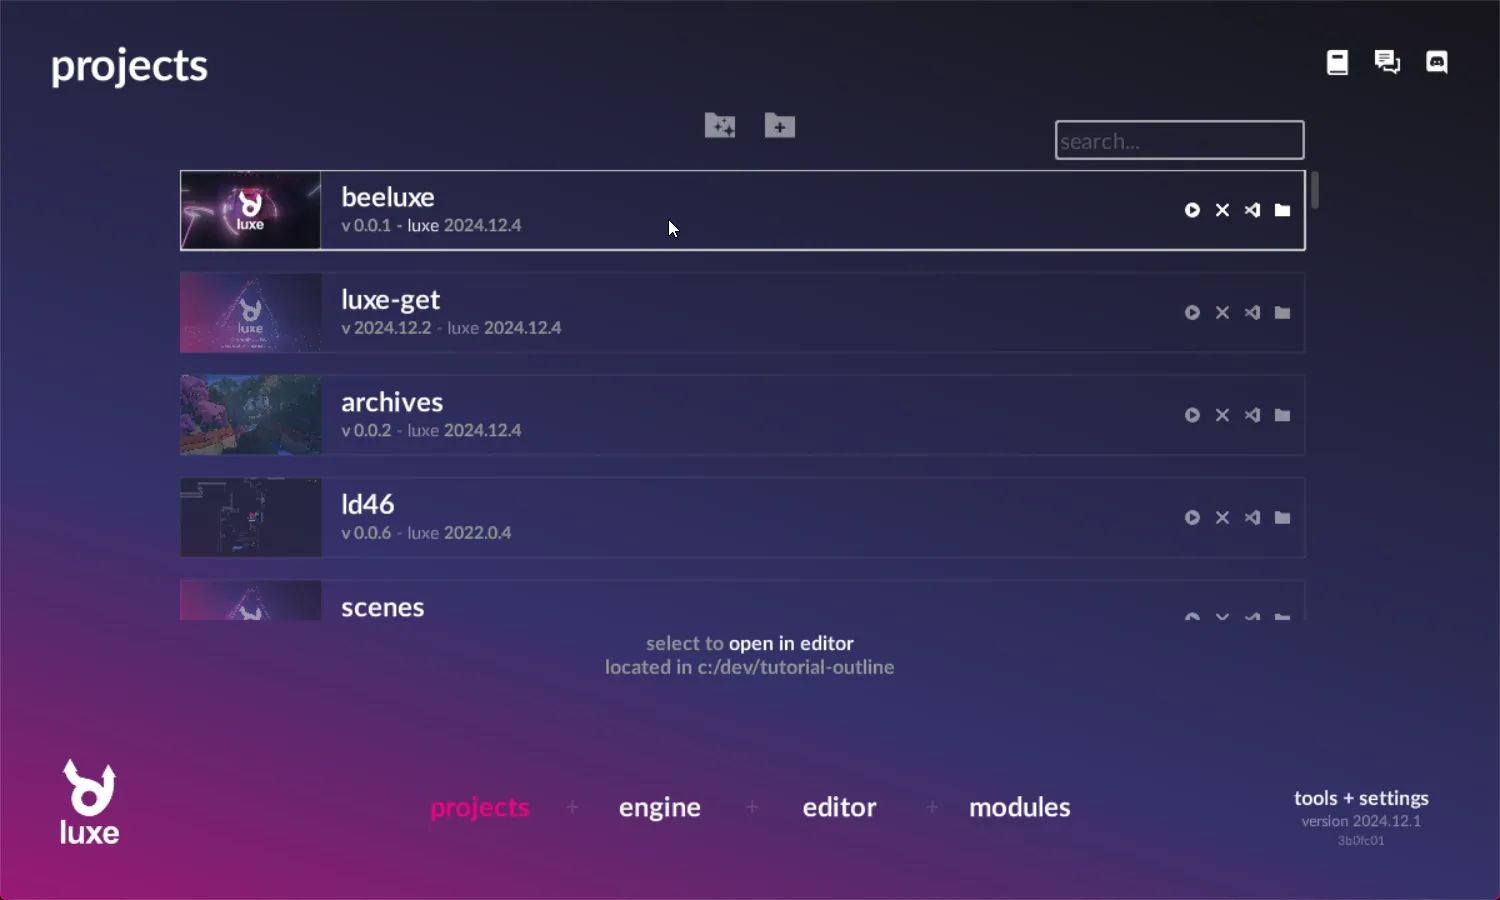
Once you click, you should see the state change to be highlighted and show running in editor….

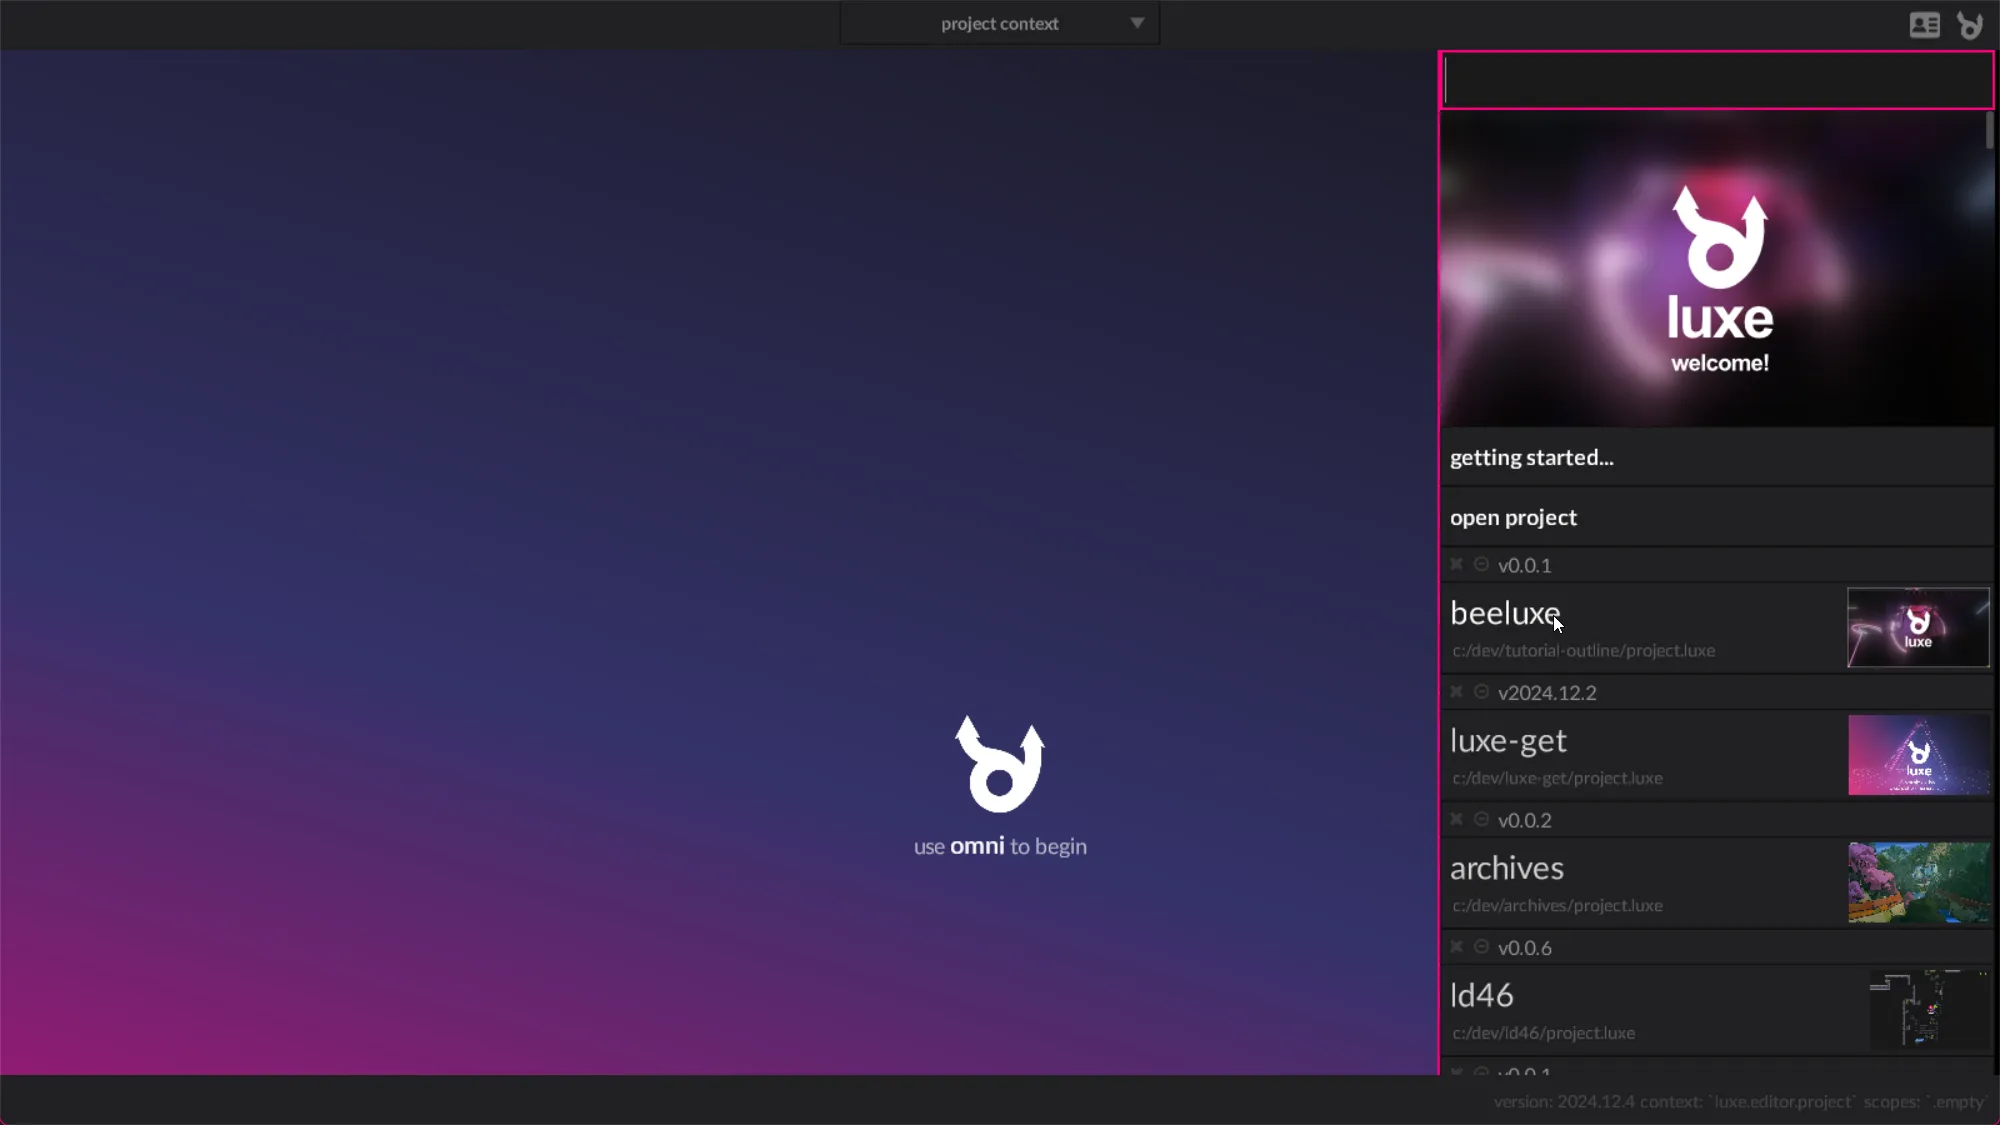
And when it launched, you should see the following screen.

Open a project manually
If you were to run the editor manually, you typically see the project context without omni open.
If you hover the word omni you get a hint on what to do, but this is unclear and changing soon.

When you do open omni, the sidebar, you’ll find the same list of projects sorted by most recent:

Clicking the name of the project will get you to the same screen as opening via the launcher.
The luxe editor is based on contextual workflows.
The world editor is a context that you work in when editing levels or scenes. Creating tilemaps, managing assets, changing settings: these are all different contexts, as they are contextually different things, and don’t overlap with editing scenes. So we put them in separate contexts that you can switch between quickly.
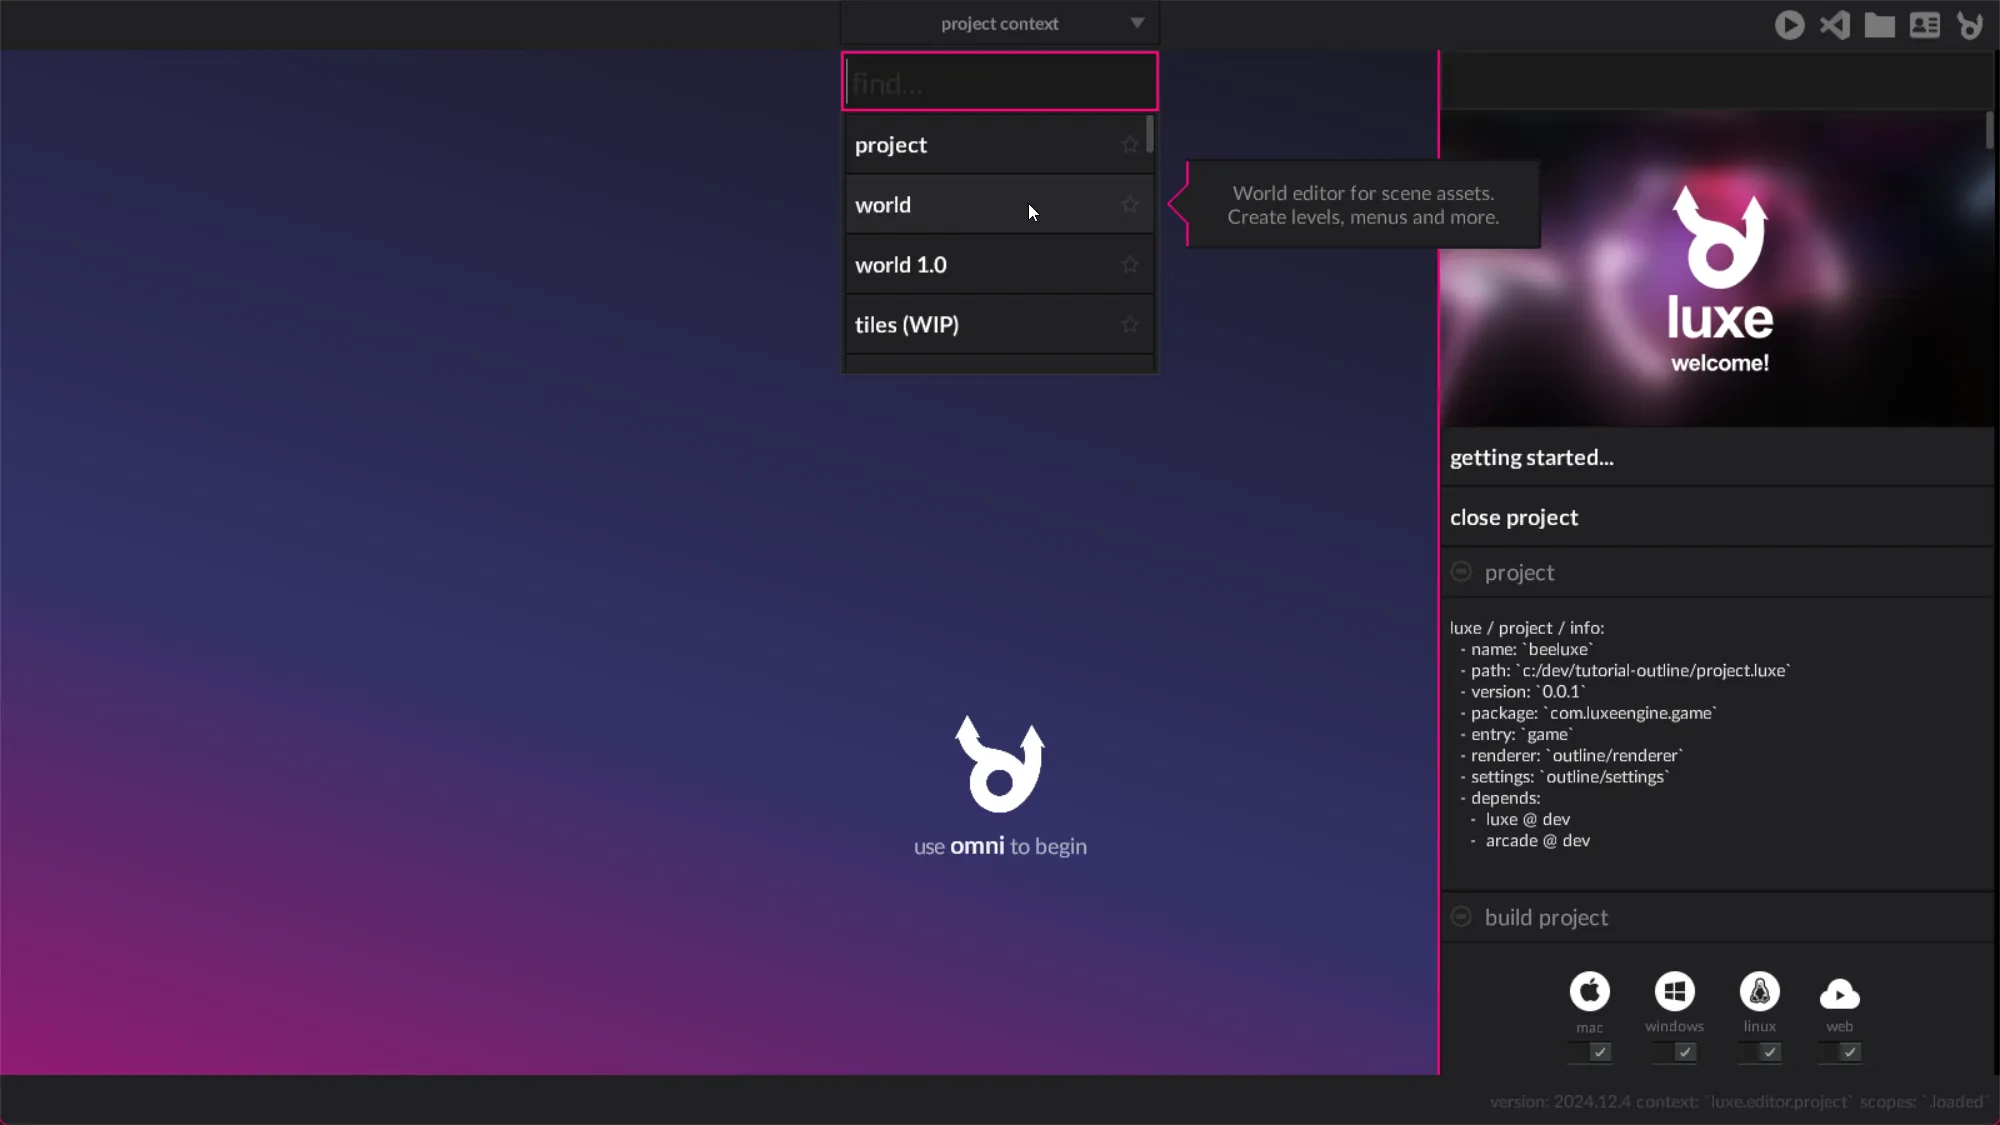
You can change context in two main ways. The first is the context drop down on the top bar:
The second behaves a lot like ‘alt-tab’ or app switching in your OS. When you press meta + backtick (‘console key’)
(
A significant amount of time will probably be spent in the world editor, as this is where you build a lot of the primary content for games.

There are a three main actions that are easy to get to:
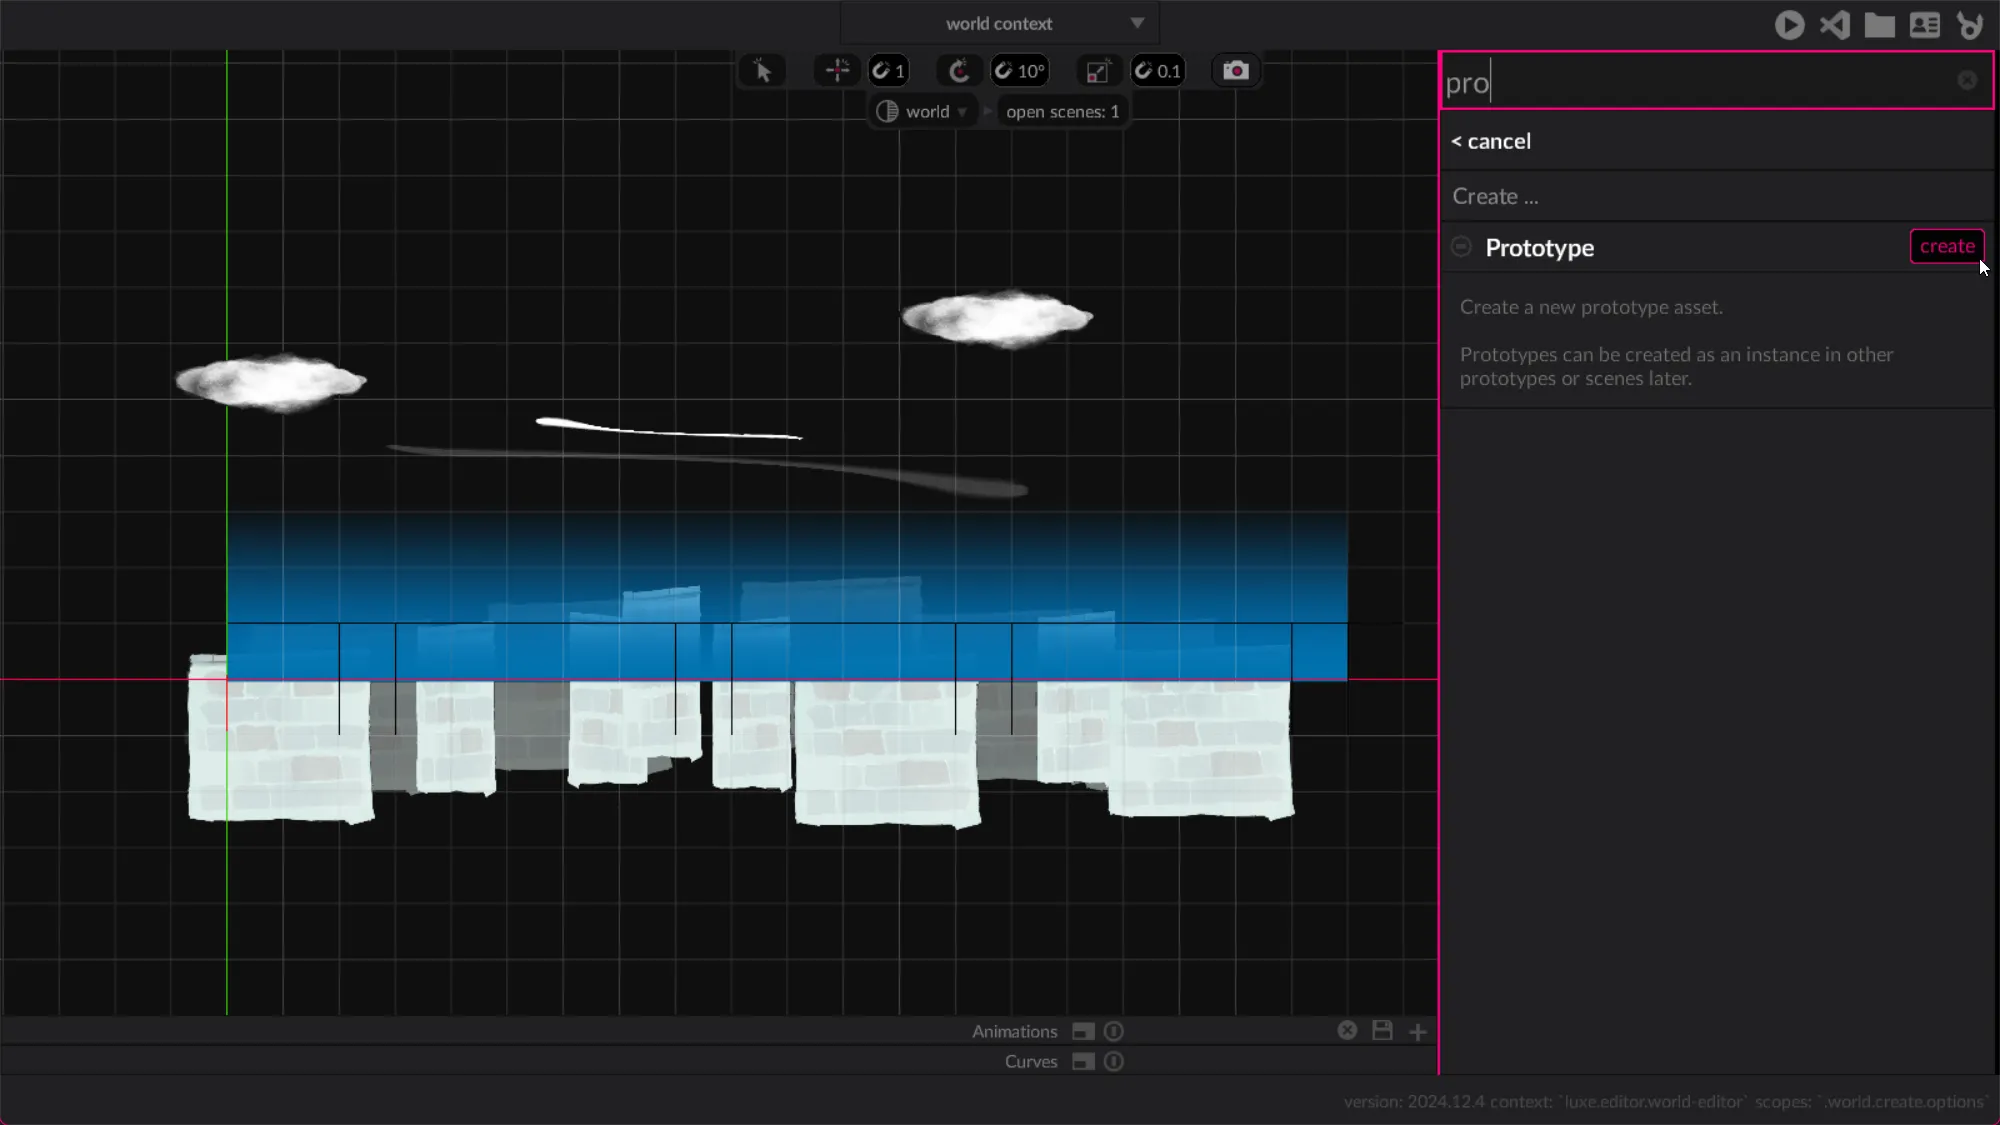
Let’s open an existing piece of content from our world tutorial: A prototype. We first hit the Open button followed by the open button on the Prototype section:

When we do that, we’re presented with a list of all the prototypes in the project we could open.
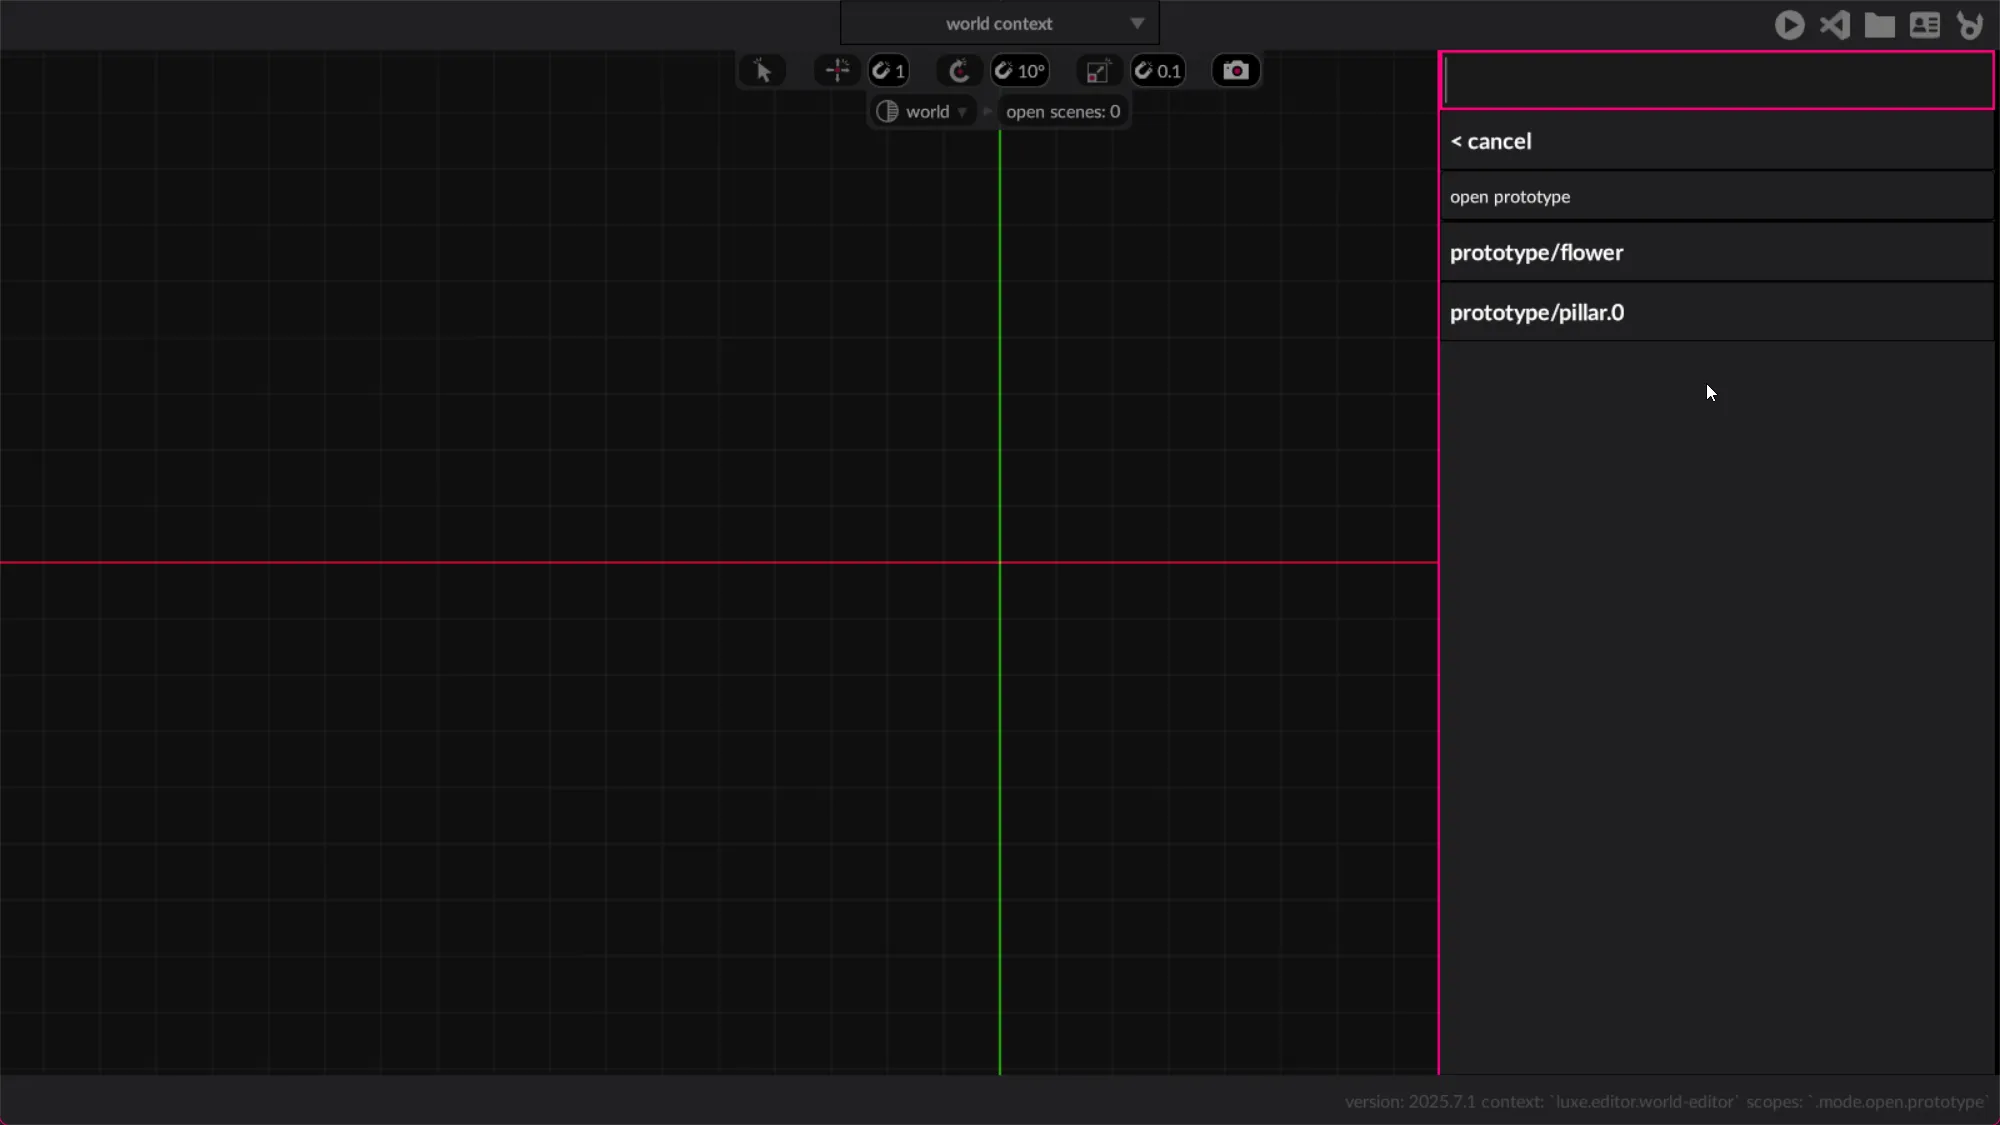
This list is searchable for quickly finding what we’re after, and uses a fuzzy search to make it easier to find things
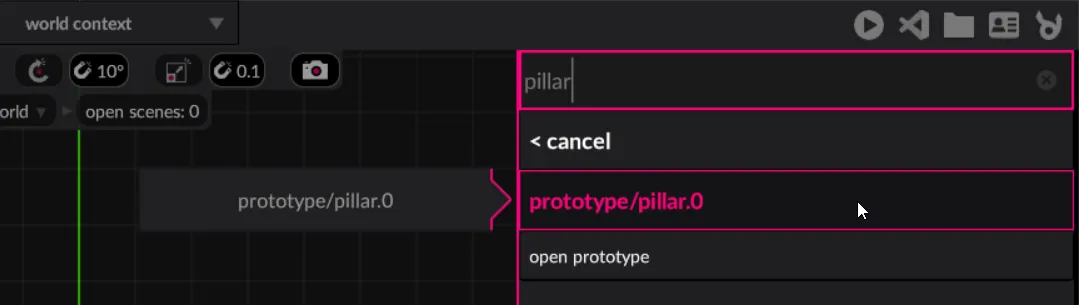
Once we select the prototype we want (prototype/pillar.0 in this case) it should open for us to edit.
Below the Primary buttons, we have the world outliner. This displays the content in the world and allows us to manage or modify it.
Now that we have some content, we can see a root entity for the prototype in the outliner, and entities below that it creates.

If we click on the entity in the outliner, it will select it. Let’s select the chimney named chim1.
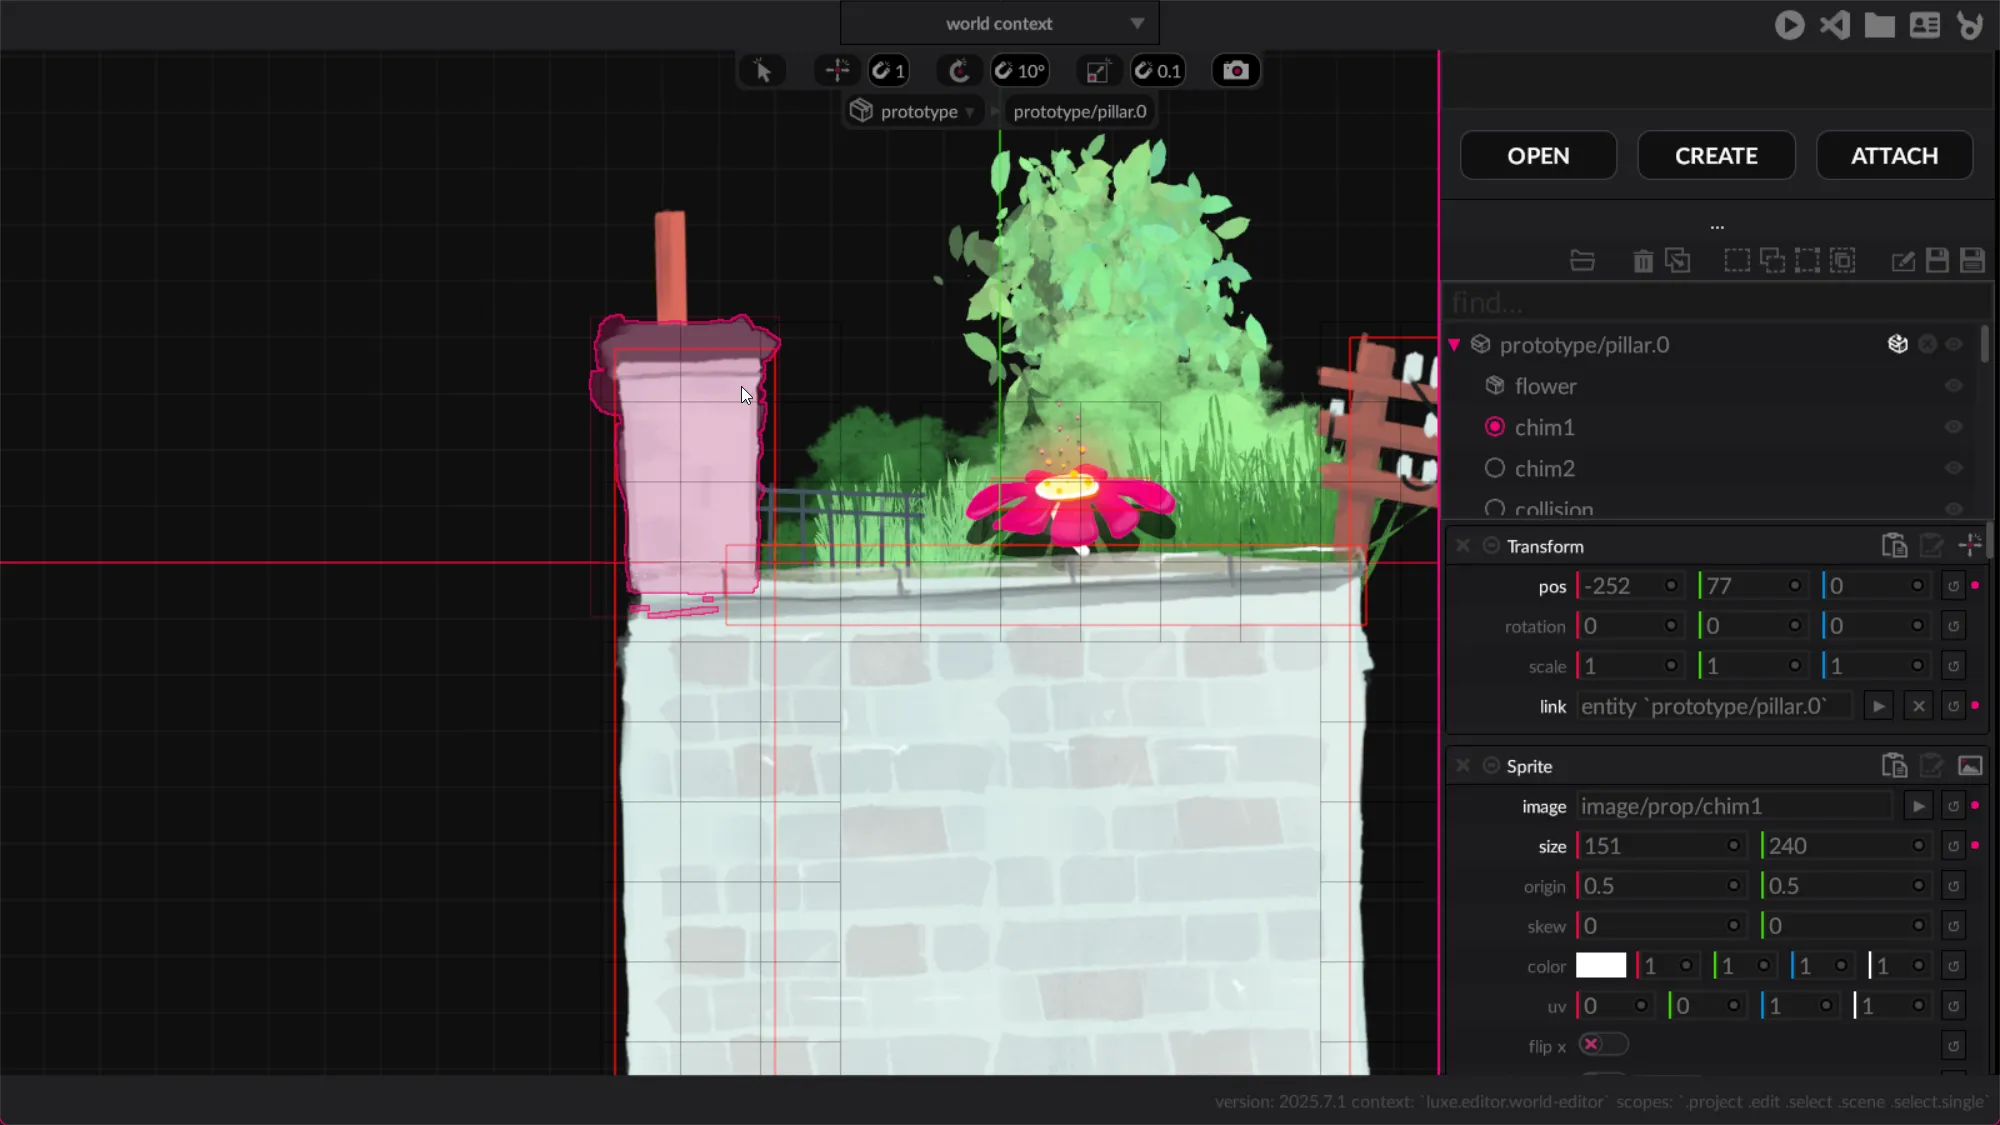
Once selected you’ll see the modifiers attached to the entity, if any, below the outliner. There’s options on each to copy or paste them, remove them and more.
We’re not going to edit this particular prototype, rather we came here to learn about the way protoypes are edited in isolation.
When we open a prototype (or create one) it does so in it’s own world. There’s a unique world for each one that’s open, and one primary world for the open scenes. So how do we get back to the main world editor? That’s what these little breadcrumbs are here for:

If we select the left side picker, it’ll drop down and show any open worlds we have at the moment, so we can switch easily between them:

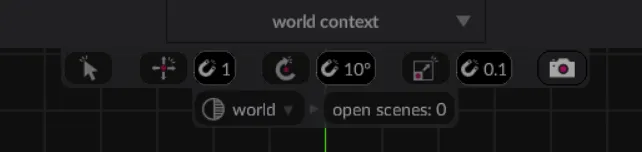
If we switch back manually we’ll see the world selector is active on the left instead, and it shows 0 open scenes.
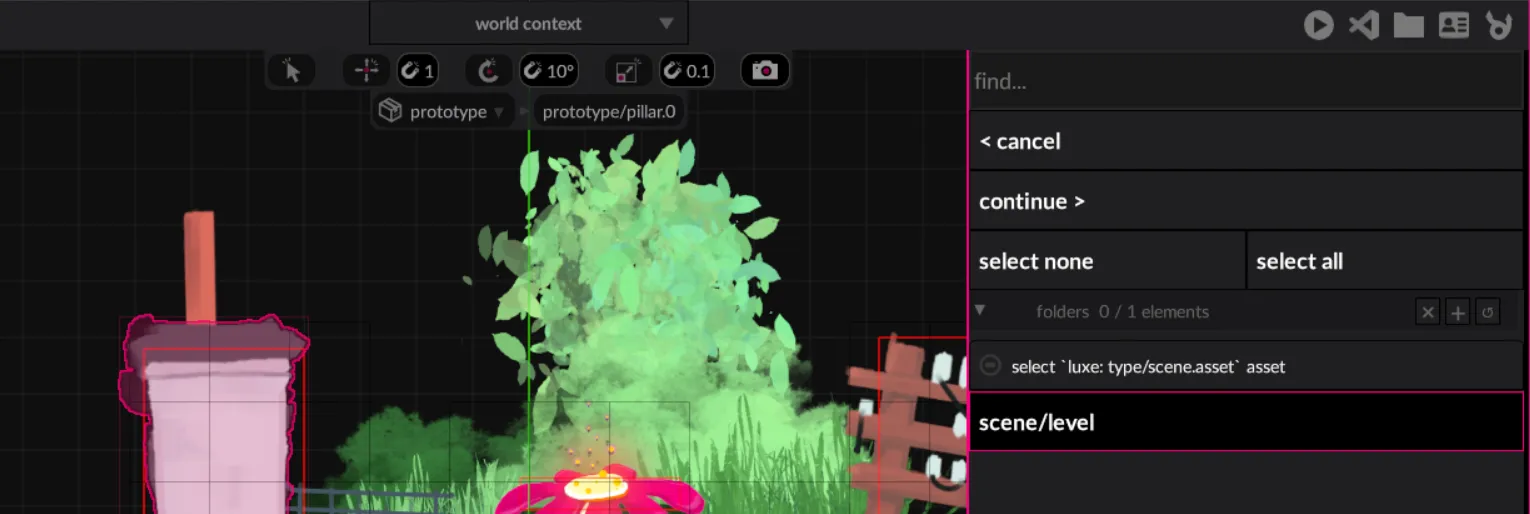
You can open a scene to inspect it. When you choose Open -> Scene you get presented with an asset list, but this one allows selecting multiple assets.
Once you select a scene to open, you have to press continue > to confirm the selection.
If you’re only opening one, you can also double click the one you want to open.
The typical workflow in luxe is to create an entity, and then attach modifiers to it to give it meaning.
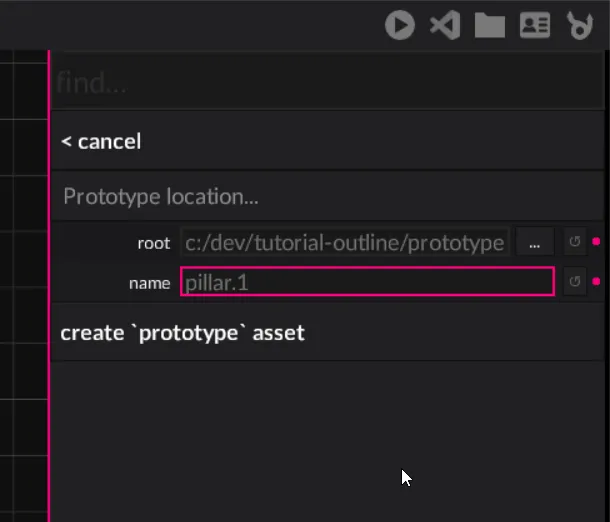
We hit the create button:

Followed by searching for or scrolling to Prototype and selecting create:
Then we type the name we want to give it.
This brings us back to our familar empty world, a new one for this prototype.
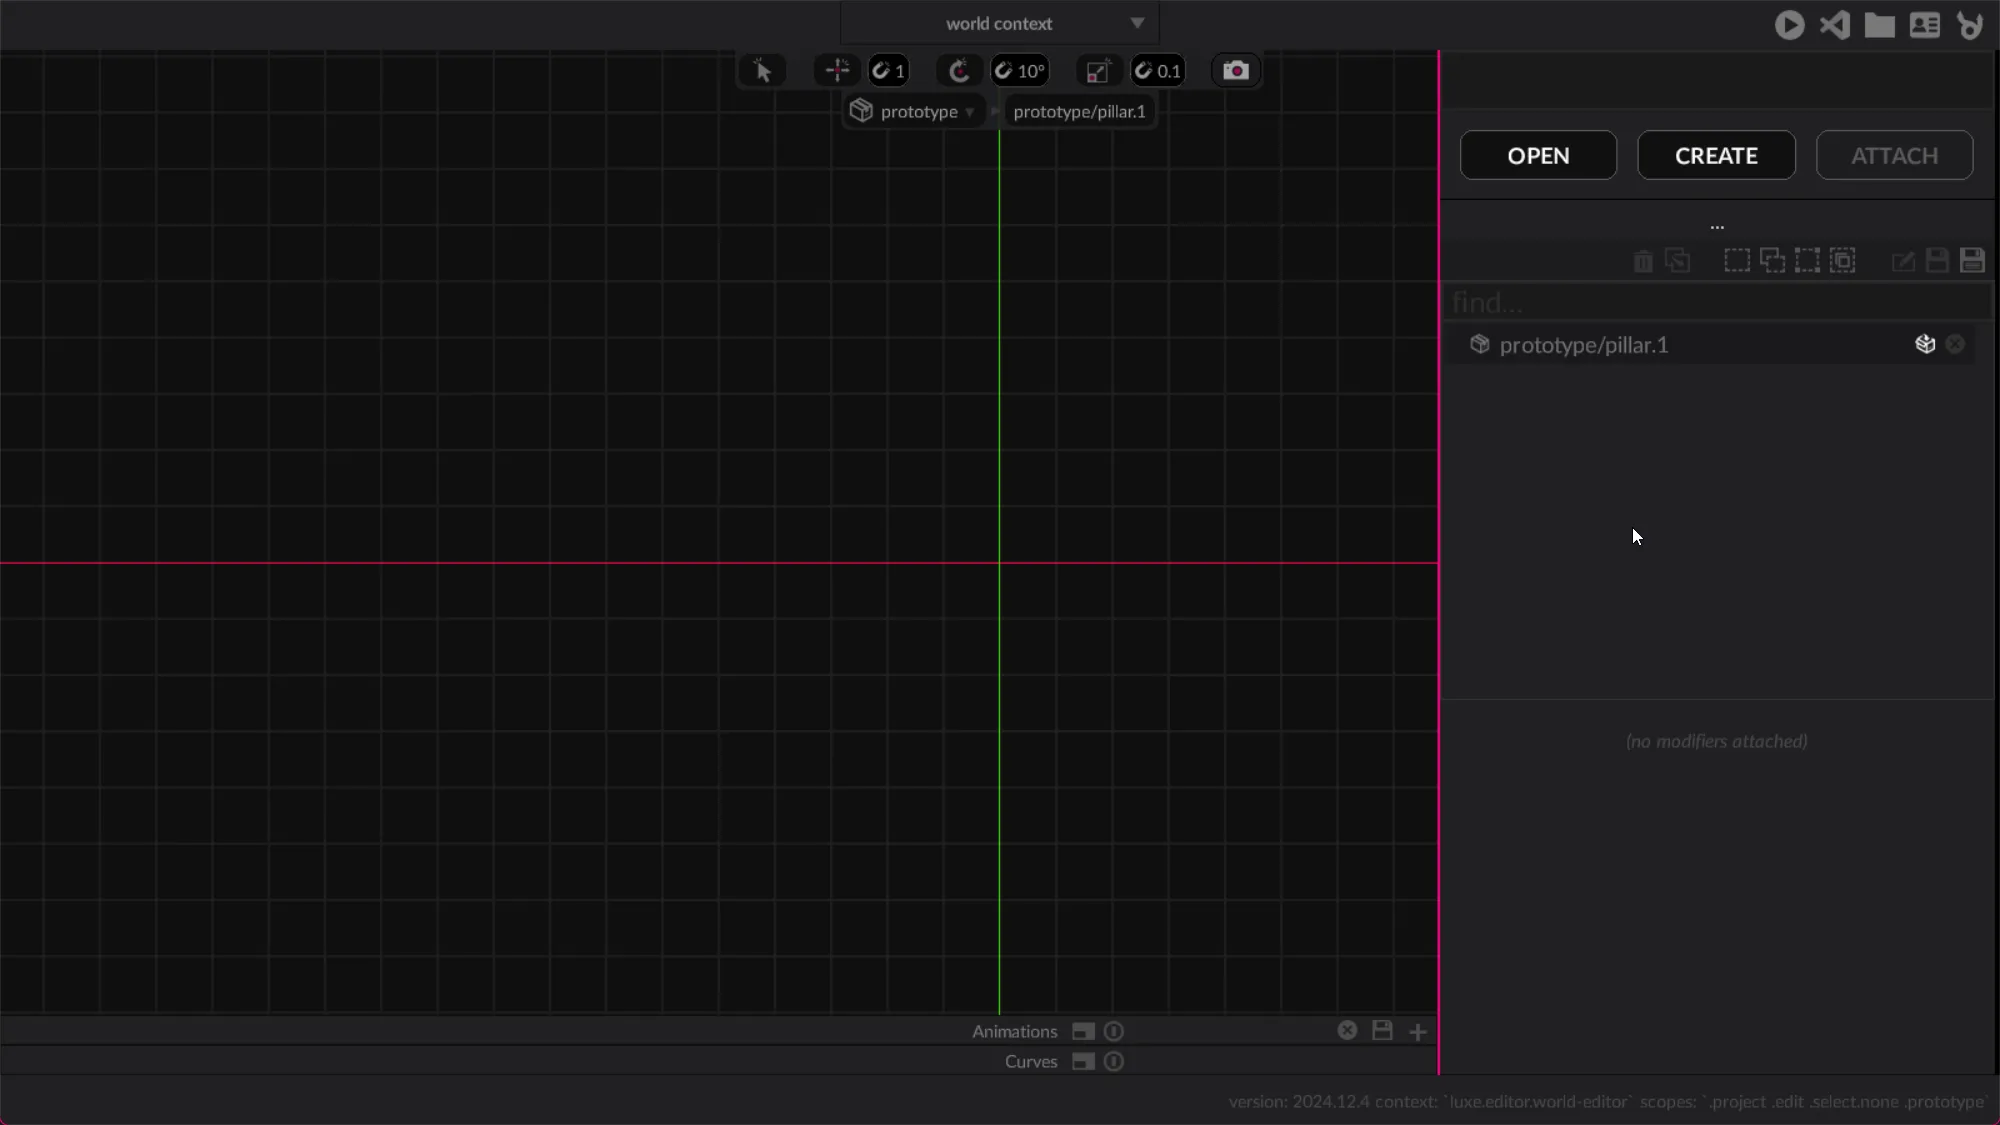
Now that we are familiar with the Create workflow, let’s create a new Entity.
Now we’ll rename out new entity. Select it first, and the rename button should highlight:
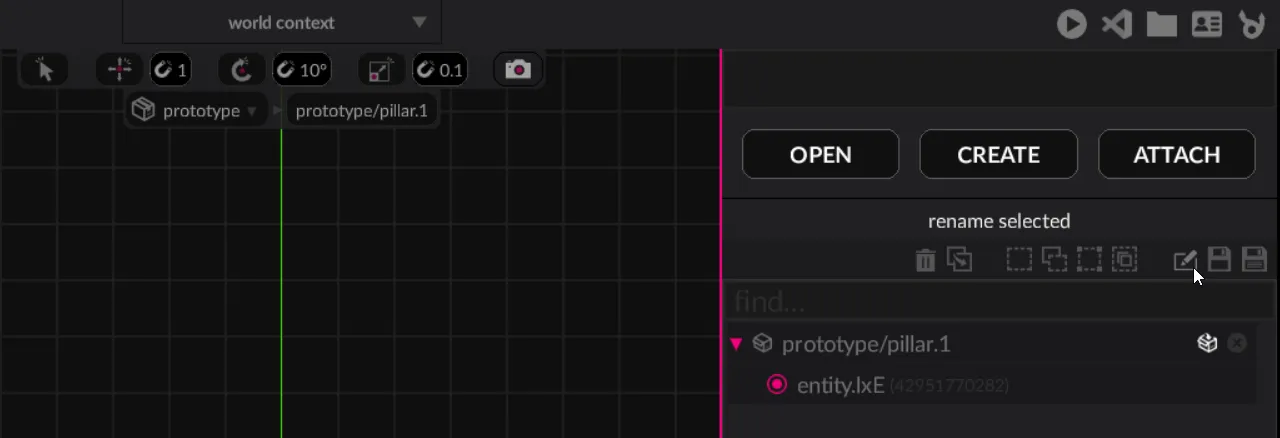
This presents an area to enter a new name:
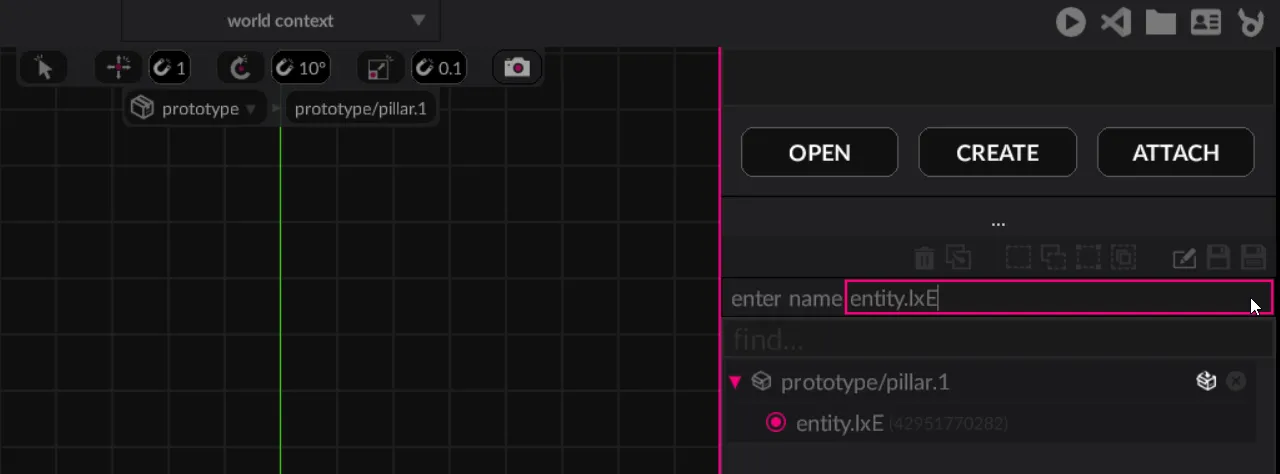
We’ll call ours base. Hit enter when done, or click the rename icon again.

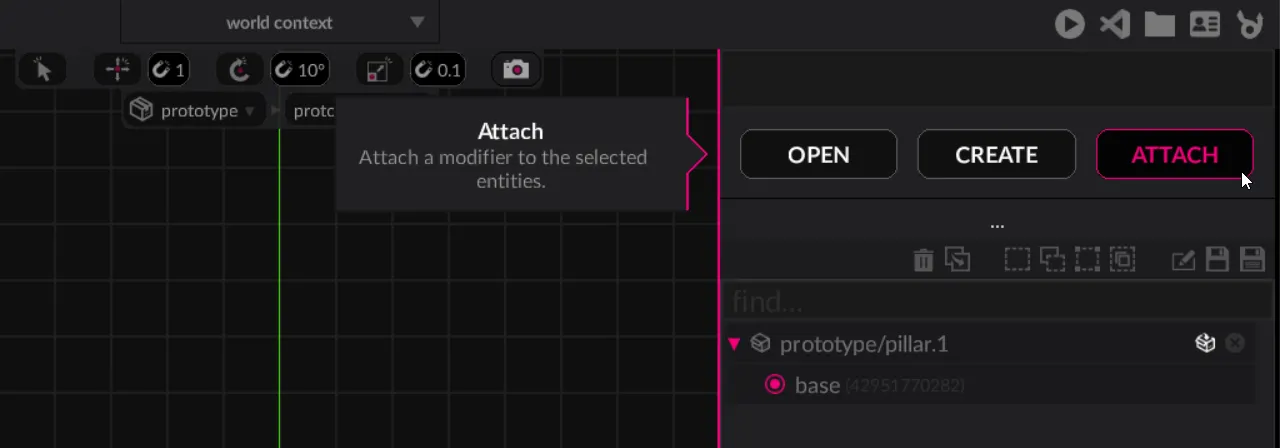
This will present you with a list of all available modifiers in your project.
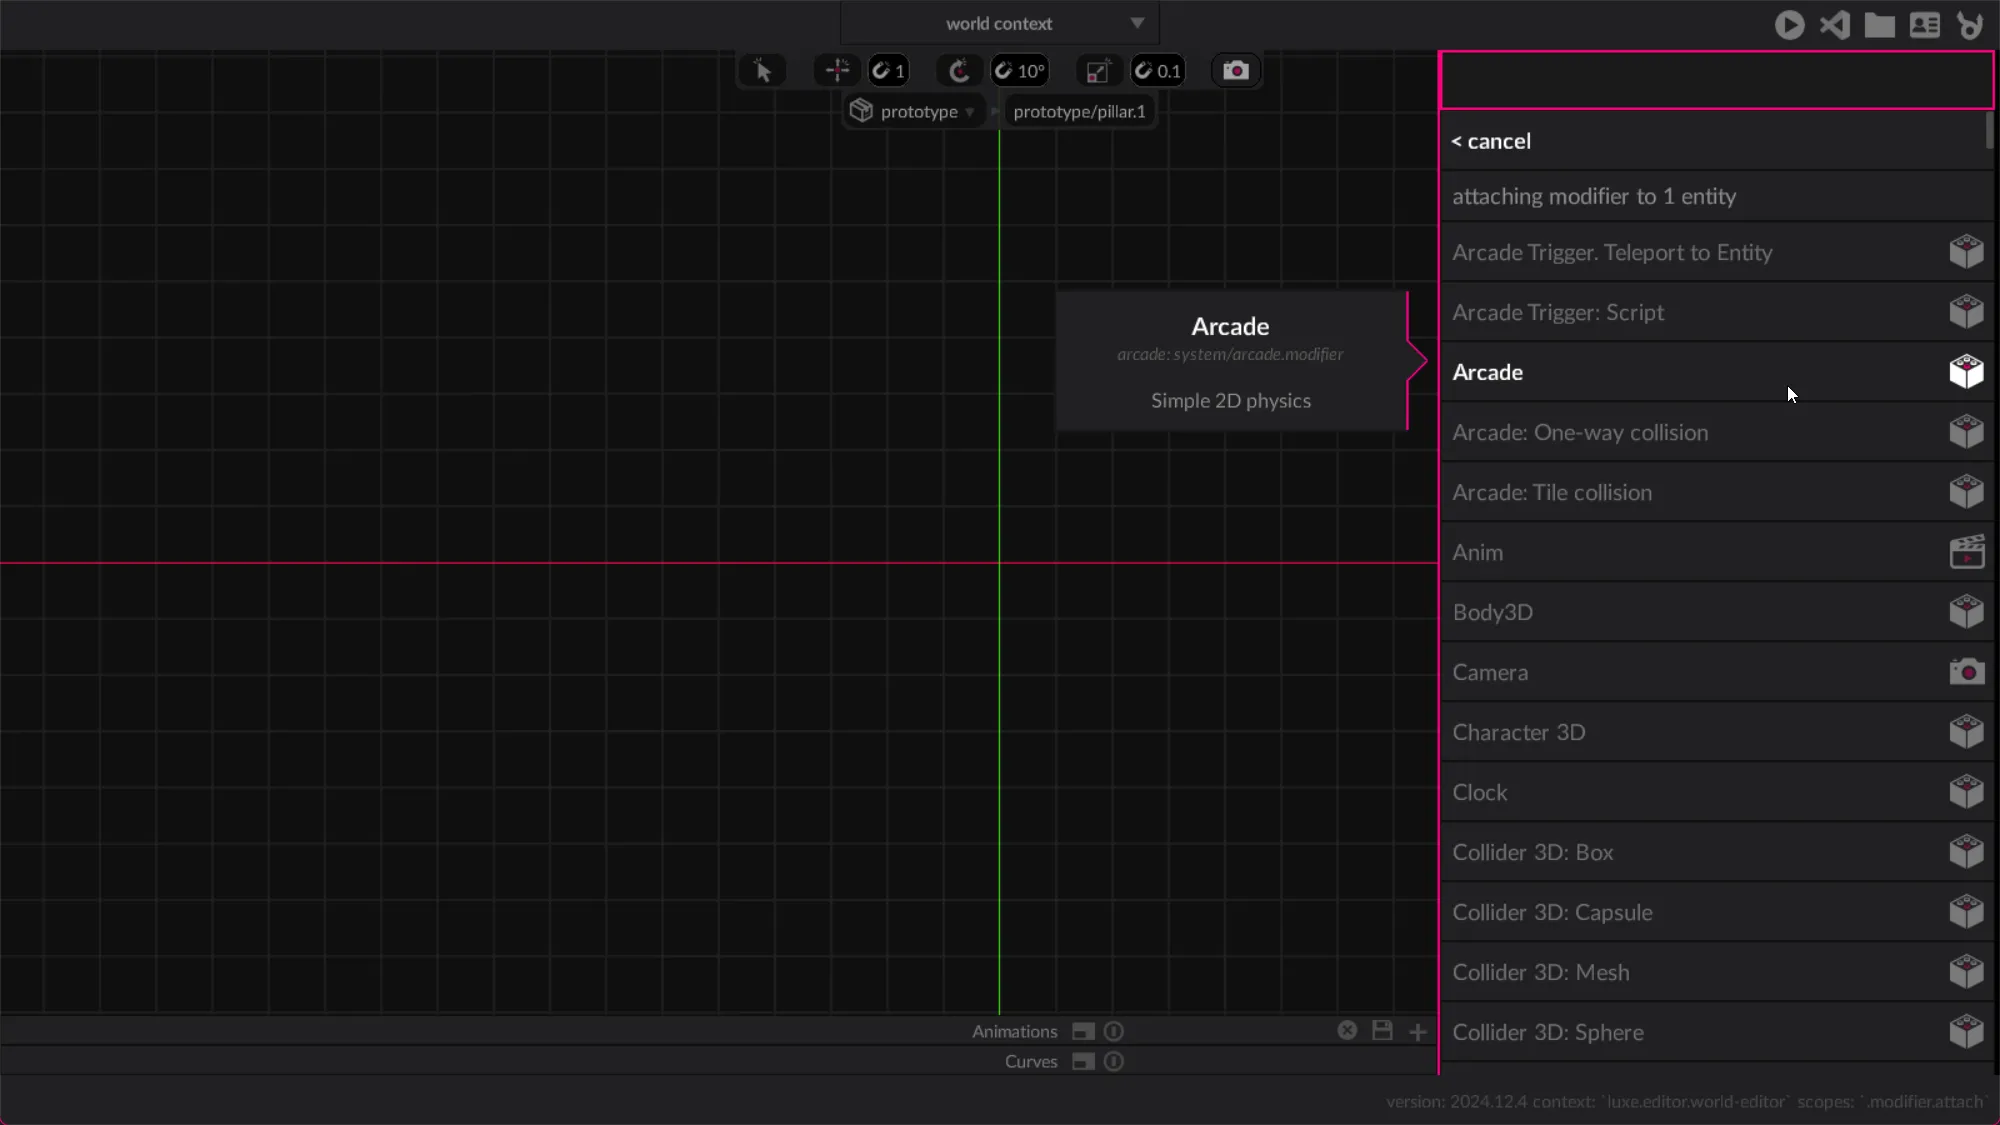
Like always, you can search in this list. We’re looking for `Transform.

Once we’ve attached both a Sprite and a Transform modifier, we’re ready to customize it using the inspector.

Each modifier has their own properties, a sprite has an image field as the first option.
We’re going to customize it to be a wall for the base of our pillar.
To do that we first look for the asset selector icon next to the field (It’s a right arrow):
![]()
This will bring up a list of all the images the project can use:
![]()
As always this is searchable, we’ll filter for wall and choose wall2
![]()
This will change our sprite size + visuals to match the selected image:
![]()
In order to know what we’re going for, we’re going to look at the existing pillar.
It’s very common in game development where you might have to work with content someone else created, so we’re using this opportunity to observe how the first pillar was made, so we can make our own.
This will take us to another world, and we’ll be able to switch back and forth between them to compare notes.

The first thing to notice, is that the top of the wall is aligned with the red axis marker. That means the top of the wall is at 0 on the Y axis!
Because we attached a Transform, we can move the entity down to align (it doesn’t really have to be perfect).
First select the entity, either by clicking on the visuals in the world view, or using the outliner.
Then we can press the Translate mode for the Transform modifier.
![]()
This presents us with a green and red arrow on the entity. This is the Transform Gizmo, and we can grab it by those red and green arrows to move things around.
Since we’re only interested in moving the sprite up and down, we’ll grab the green arrow, and drag downwards:
![]()
The gizmo has different modes, play around with them:
Notice how the gizmo is in the center of the sprite. The sprite modifier has an alternative way to achieve what we want, by offseting the visuals instead. This is called the sprite origin, and changes where the transform gizmo / origin is.
The values for a sprite origin range from 0 to 1.
0 is left, 0.5 is center, and 1 is right.0 is bottom, 0.5 is center, and 1 is top.If we change the y value of the origin to 1, we can set the Y position on the Transform back to 0. This makes the top of our pillar align with the red axis as well!
The Transform gizmo is now also on the top edge of the sprite, not the middle. It’s always situational which you use, but for our case we can use this.
![]()
The last piece we’ll do step by step, is creating an instance of the flower prototype. The flower is part of the challenge in the game, to bounce on it, so we’ll create one in our pillar. The game already has a prototype created and ready to use, so all we need to do is make an instance of it.
If we open the create menu, we can find Instance in the list:

That will show a list of prototypes in our game, we’ll pick the flower:
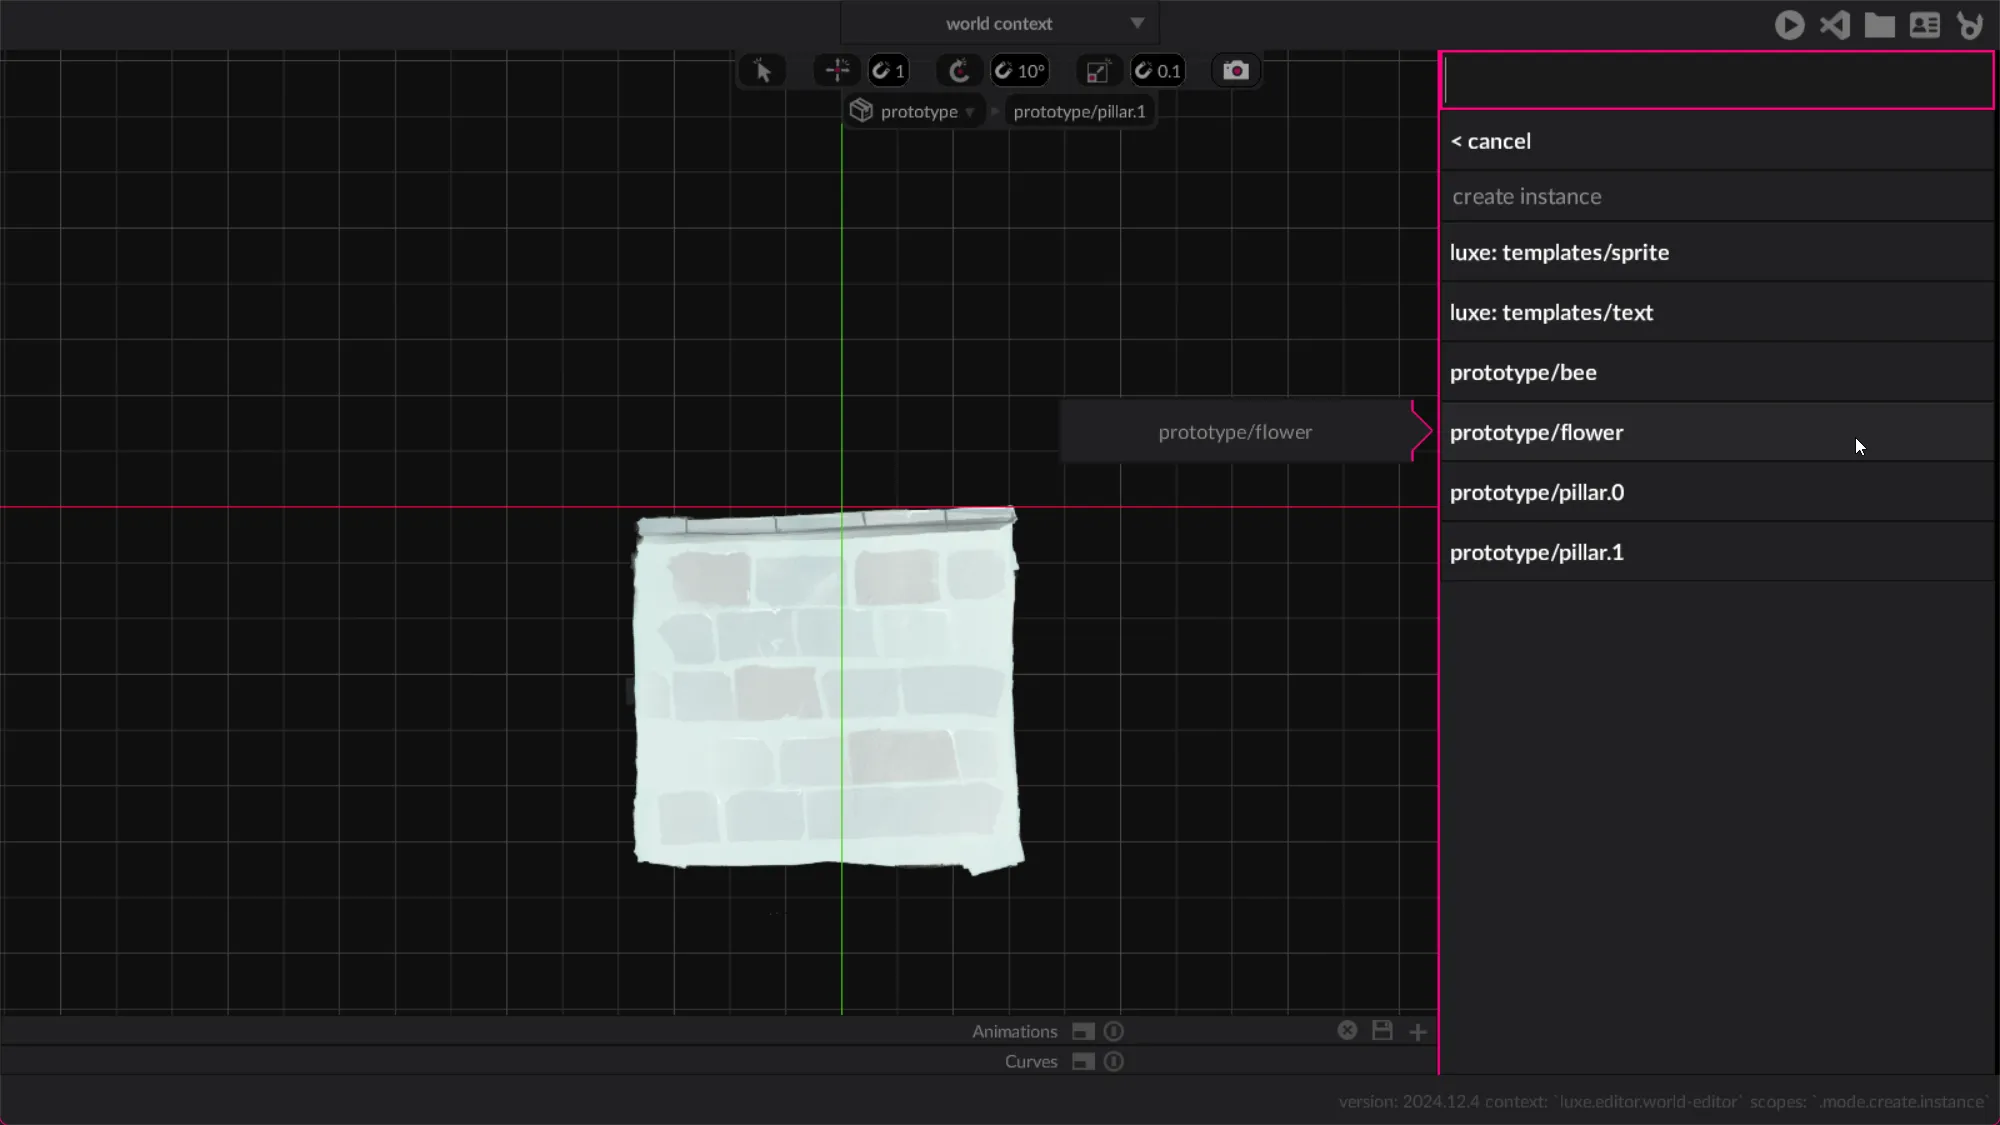
There we have it! It looks rather big.

We compare again with our previous pillar, and notice that the transform scale was set to 0.4 on the x and y value.
Now as the last step we’ll cover here, we can use the white square part of the gizmo to translate on the XY axis - both at the same time. We’ll position our flower somewhere on the top of the pillar.
Now it’s up to you to finish the pillar and implement it into the game. Take a look at the existing one for reference in the editor.
Move things around randomly, inspect all the properties, look at the collision modifiers. Use your imagination to make an interesting rooftop space!
You can duplicate entities using
When you create content, it often isn’t saved automatically so you can experiment without saving. Make sure to save often!
Implement the pillar
In the game code, use the Random class to randomly pick a pillar to spawn instead of always spawning the same one.
Make a few pillars
!!! tip "" Make a variety of pillars, some easy, some hard, experiment with multiple flowers, no flowers, tall or short collision etc.
Use pillars as difficulty
If you make several pillars, make them spawn progressively so it gets progressively more difficult. Include occasional easier ones for a rest period.
Customize the scene
Edit the scene/level scene to create various levels. If you implemented score, try change levels every 10 points. Try changing the sky color over time using the Sprite modifier HSV setting.