
Match 3 - Game logic
See it in motion
Section titled “See it in motion”In part 1, we’ll be making something that looks like this:
Moving parts
Section titled “Moving parts”Let’s think about the game we’re making and decide how we’re going to structure it. In luxe we have several tools we can use like Modifiers, Prototypes, Scenes and so on, which do we use for this game?
The game consists of:
- A grid with the state of the game board (logic)
- Visuals to represent that grid state
- A potential (very simple) hud to display the score
Project phases
Section titled “Project phases”We’re going to approach this in phases:
- We’ll start simple with the logic parts of the game
- Then we use
Drawto visualize the state of the board
- Then we use
- Then we’ll make it so we can wait on logic to animate changes
- This will use Wren Fibers - a concept that allows us to pause code logic
- Lastly we’ll convert it to use the world systems
- So we can use Sprite, Anim, and more to make it nicer
This should allow us to see a journey from a prototype to a game while keeping the same core concepts.
Create the project
Section titled “Create the project”We’ll start this project using the Empty project outline.
Let’s delete all the logo code, leaving our game an empty class like this:
class Game is Ready {
  construct ready() {
    super("ready! %(width) x %(height) @ %(scale)x")
  } //ready
  tick(delta: Num) {
    if(Input.key_state_released(Key.escape)) {      IO.shutdown()    }
  } //tick
} //Game
The grid system
Section titled “The grid system”Since we know that our later goal is to use the world systems, we’re going to start by making our grid a modifier. It could just as well be plain class, but we don’t have to rewrite a lot of stuff over and over.
What’s important is thinking about how we work so that we don’t paint ourselves into a corner!
-
Section titled “system/”system/Create an empty folder named
system/in the project folder. -
Section titled “system/grid.modifier.wren”system/grid.modifier.wrenCreate an empty file named
grid.modifier.wrenin the newsystem/folder. -
Run the build
Section titled “Run the build”This will generate the contents for you to edit.
-
Edit details
Section titled “Edit details”We update our system definition with some details.
#api#display = "Match3 Grid"#desc = "**A match 3 grid**. Contains the core logic and grid state of the game"#icon = "luxe: image/modifier/modifier.svg"class Grid is API {//add public facing API here}
Grid data
Section titled “Grid data”Now we can think about our Modifier data, what do we need for a match 3 game grid? If we imagined creating a match3 grid as a modifier and editing the properties, we can think of settings the user might want to control:
- A width and height
- A number of unique block types the grid can hold
- A 2D grid of numbers to store the game state
For the grid state, we’ll use an array of objects in the block data. To do that we’ll also define another data block class to use!
#block = dataclass Data {
  #doc = "The height of the grid (in cells)"  var width: Num = 8  #doc = "The width of the grid (in cells)"  var height: Num = 8  #doc = "The number of distinct block types"  var block_kinds: Num = 6
  #no_inspector  #count = 8  #type = GridRow  var rows: List = []
}
class GridRow {  #count = 8  #type = Num  var columns: List = []}
Initialize the grid data
Section titled “Initialize the grid data”Inside attach we can initialize our grid data.
attach(entity: Entity, data: Data) {  Log.print("attached to `%(Entity.name(entity))` `%(entity)` - `%(This)`")
  //create the grid data  for(y in 0 ... data.height) {    var row: GridRow = data.rows.add()    for(x in 0 ... data.width) {      row.columns.add(0)    }  }
}
Visualize the grid
Section titled “Visualize the grid”Even though it’s empty, it can still be much easier to reason about our changes if we can visualize them on screen.
To do that we’re going to need a few imports at the top of your grid.modifier.wren file:
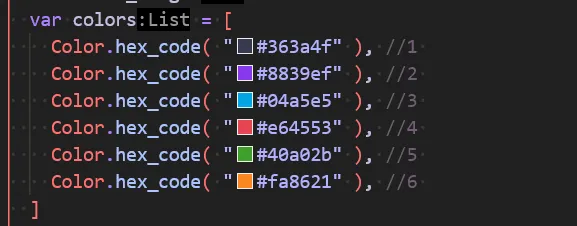
import "luxe: input" for Input, MouseButton, Keyimport "luxe: draw" for Draw, PathStyleimport "luxe: world" for Cameraimport "luxe: color" for Colorimport "random" for RandomAnd inside our system, we’ll create a draw context, and a random number generator, and some colors and sizes for debugging the board:
class System is Modifier {
  var rng: Random = Random.new()
  //debug visualization  var draw: Draw = null  var style: PathStyle = PathStyle.new()  var grid_left = 100  var grid_bottom = 64  var block_width = 64  var block_height = 64  var colors = [    Color.hex_code( "#363a4f" ), //1    Color.hex_code( "#8839ef" ), //2    Color.hex_code( "#04a5e5" ), //3    Color.hex_code( "#e64553" ), //4    Color.hex_code( "#40a02b" ), //5    Color.hex_code( "#fa8621" ), //6  ]
  //required atm  construct new(world: World) { super(world) }
  init(world: World) {    Log.print("init `%(This)` in world `%(world)`")
    draw = Draw.create(World.render_set(world))    style.color = Color.black    style.thickness = 4  }
Because we put the # color code there, the code editor (vscode) can show us the color!
Fill the grid with random values
Section titled “Fill the grid with random values”In our attach we can change the 0 we used to a random value:
for(y in 0 ... data.height) { var row: GridRow = data.rows.add() for(x in 0 ... data.width) { row.columns.add( 1 + rng.int(data.block_kinds) ) }}Draw the grid
Section titled “Draw the grid”Let’s create a helper function to convert the grid coordinate spaces to world space.
Somewhere in your System class add these two functions:
world_to_grid(data: Data, x: Num, y: Num) {  var grid_h = data.height * block_height  var grid_x = ((x - grid_left) / block_width).floor  var grid_y = ((y - grid_bottom) / block_height).floor  //now invert the Y because we were in y+ up world  grid_y = (data.height - 1) - grid_y
  return [grid_x, grid_y]}
grid_to_world(data: Data, x: Num, y: Num) {  //we subtract because y+ is up,  //and we add 1 because we want the bottom left  //(not top left) for world space!  return [    grid_left + (x * block_width),    grid_bottom + ((data.height - y - 1) * block_height)  ]}
Now we can jump to our tick method, and using Draw we can draw the state of the grid.
This requires looping over the grid, first along the rows (y) and then across the columns (x).
We can then fetch the random value from the grid, use it to pick the color, and draw a box.
tick(delta: Num) {
  each {|entity: Entity, data: Data|
    for(y in 0 ... data.height) {
      var row: GridRow = data.rows[y]
      for(x in 0 ... data.width) {
        var kind = row.columns[x]        if(kind == 0) continue
        var color = colors[kind - 1]        var pos = grid_to_world(data, x, y)        Draw.quad(draw, pos.x, pos.y, 0, block_width, block_height, 0, color)
      } //each column
    } //each row
  } //each entity
  Draw.commit(draw)
}
Adding an instance in game.wren
Section titled “Adding an instance in game.wren”If we ran this… there would be nothing shown. That’s because we never attached our modifier to an Entity.
Inside game.wren we’ll import and create a grid instance.
import "system/grid.modifier" for Grid
class Game is Ready {
var grid: Entity = Entity.none
construct ready() {
super("ready! %(width) x %(height) @ %(scale)x")
grid = Entity.create(world, "grid") Grid.create(grid)
} //ready
...
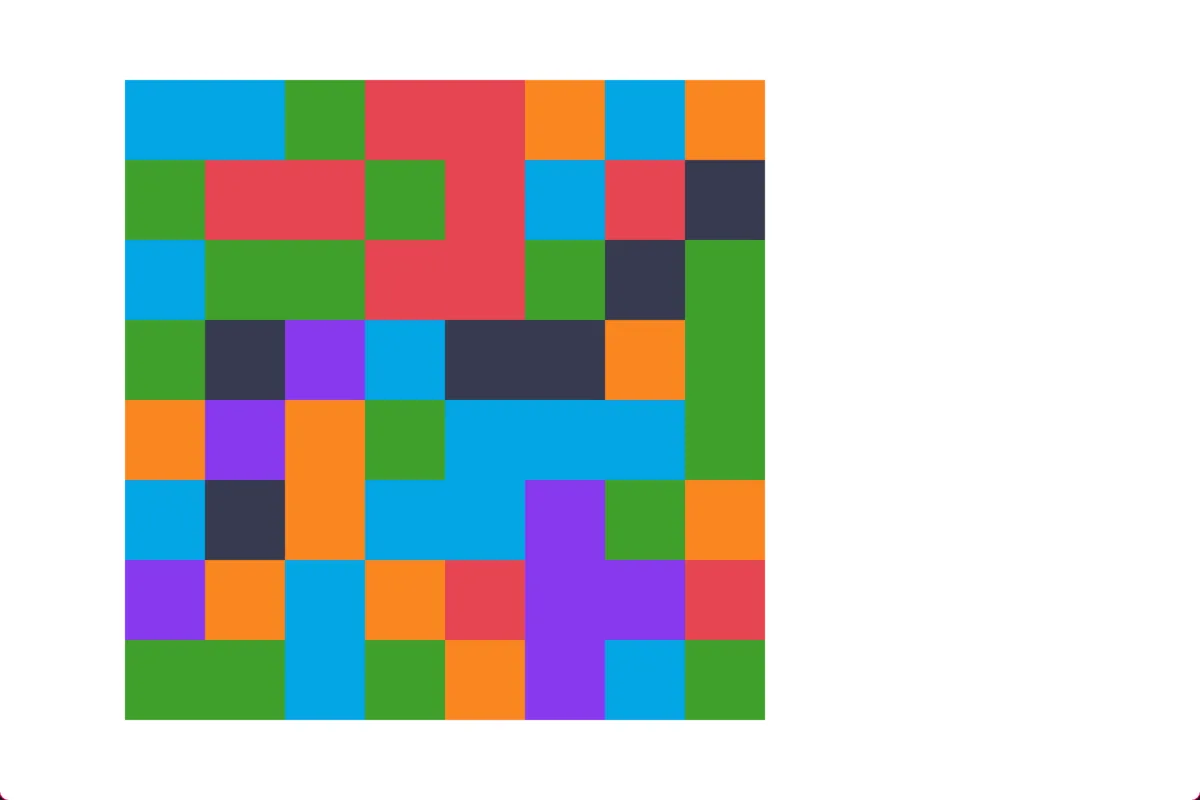
} //GameNow if we run the game, we can see that it shows a grid of random colors!
Fill the grid nicely
Section titled “Fill the grid nicely”There’s an interesting issue that comes up with randomness, is that things can repeat. In a match 3, the starting grid ideally shouldn’t already have matches.
If we look at our image, it has quite a few!
Let’s fix that.
Grid helper functions
Section titled “Grid helper functions”Before we continue, let’s add a few helper functions to make our grid logic easier.
Add these functions to your System class. Each one should be self explanatory!
in_grid(data: Data, x: Num, y: Num) : Bool {  if(x < 0 || x >= data.width) return false  if(y < 0 || y >= data.height) return false  return true}
set_cell(data: Data, x: Num, y: Num, kind: Num) : Bool {  if(!in_grid(data, x, y)) return false  var row: GridRow = data.rows[y]  row.columns[x] = kind  return true}
get_cell(data: Data, x: Num, y: Num) : Num {  if(!in_grid(data, x, y)) return false  var row: GridRow = data.rows[y]  return row.columns[x]}
is_adjacent(x1: Num, y1: Num, x2: Num, y2: Num) : Bool {  var dx = (x1 - x2).abs  var dy = (y1 - y2).abs  return (dx == 1 && dy == 0) || (dx == 0 && dy == 1)}
Resetting the grid safely
Section titled “Resetting the grid safely”Let’s make a reset_grid function that will try to fill it without matches.
First we’re going to change our attach method. Put the 0 back as the default value, and then add a call to reset_grid.
attach(entity: Entity, data: Data) {  Log.print("attached to `%(Entity.name(entity))` `%(entity)` - `%(This)`")
  //create the grid data  for(y in 0 ... data.height) {    var row: GridRow = data.rows.add()    for(x in 0 ... data.width) {       row.columns.add(0)    }  }
   reset_grid(data)
}
Then we can make a reset_grid function, adding it to our System class.
reset_grid(data: Data) { for (y in 0 ... data.height) { for (x in 0 ... data.width) { var kind = safe_tile(data, x, y) set_cell(data, x, y, kind) } }}And finally we’ll need that safe_tile function.
Because we’re filling the grid in one row at a time, and one column at a time, we can look to our left and above to check if there’s a match. If there is, we try another kind. We repeat that up to 10 times, and if we fail, then that’s fine.
Add this to your System class as well:
//Safe tile prevents filling the grid with matches//by checking for matches while choosing a random kindsafe_tile(data: Data, x: Num, y: Num) {
//pick a random kind to start var kind = rng.int(data.block_kinds) + 1
var tries = 0 while (tries < 10) { var match = false
// check for horizontal matches if(x >= 2) { var left1 = get_cell(data, x - 1, y) var left2 = get_cell(data, x - 2, y) if (left1 == kind && left2 == kind) { match = true } }
// check for vertical match if (y >= 2) { var above1 = get_cell(data, x, y - 1) var above2 = get_cell(data, x, y - 2) if(above1 == kind && above2 == kind) { match = true } }
// no matches, this is a safe kind to create at this position if (!match) return kind
// if not safe, try again kind = rng.int(data.block_kinds) + 1 tries = tries + 1 }
//if we run out of tries, just return it anyway return kind
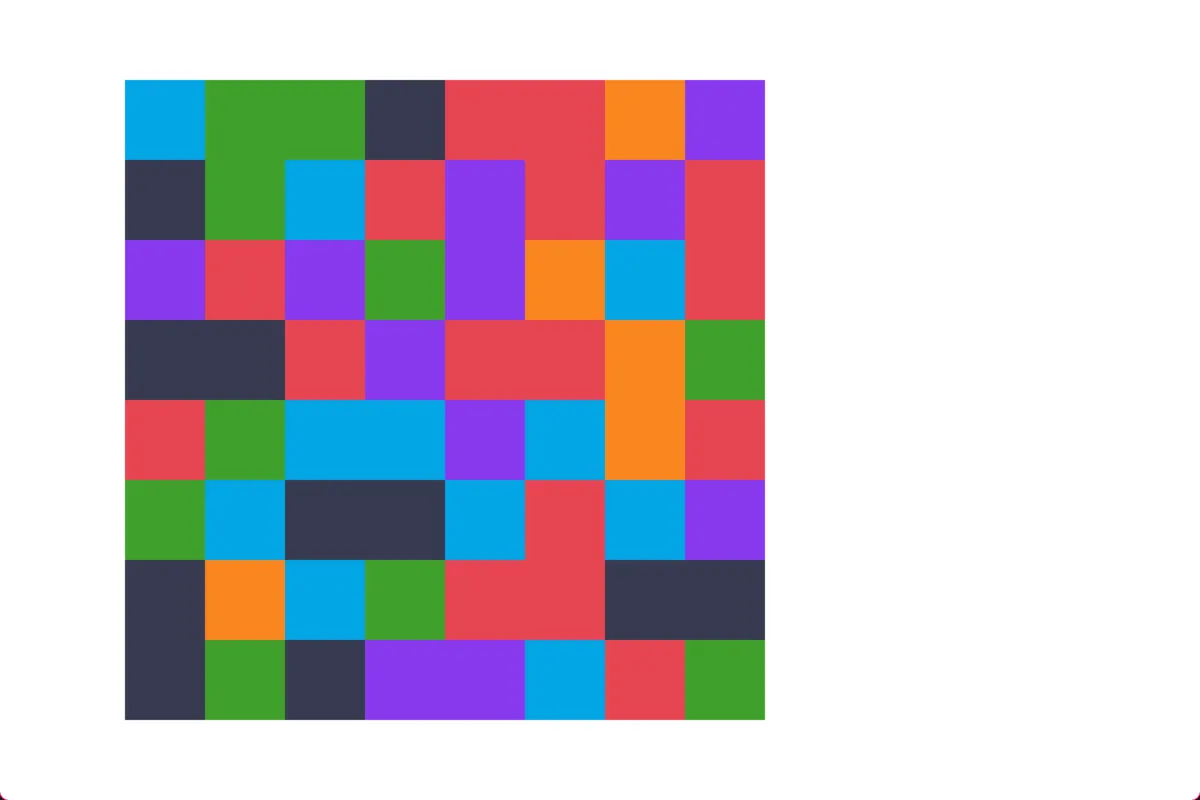
} //safe_tileThat’s much better! There’s no visible matches at the start of our grid.
Shapes + Color
Section titled “Shapes + Color”Color alone isn’t always enough information. Some people can’t percieve all colors, and sometimes they are a bit too similar and hard to tell apart.
What we can do is draw shapes instead, which will make it a lot easier to see what’s going on.
Alongside our list of colors, we can add a list of sides. A triangle has 3 sides, a square has 4, and so on. We use 32 to approximate a circle for now.
var block_height = 64 var sides = [32, 3, 4, 5, 6, 32]var colors = [Change the drawing code inside of tick to this instead:
var pos = grid_to_world(data, x, y)var color = colors[kind - 1]var sides = sides[kind - 1]var half_width = block_width / 2var half_height = block_height / 2var radius_x = half_width * 0.9var radius_y = half_height * 0.9
Draw.ngon_solid(draw, pos.x + half_width, pos.y + half_height, 0, radius_x, radius_y, sides, 90, color)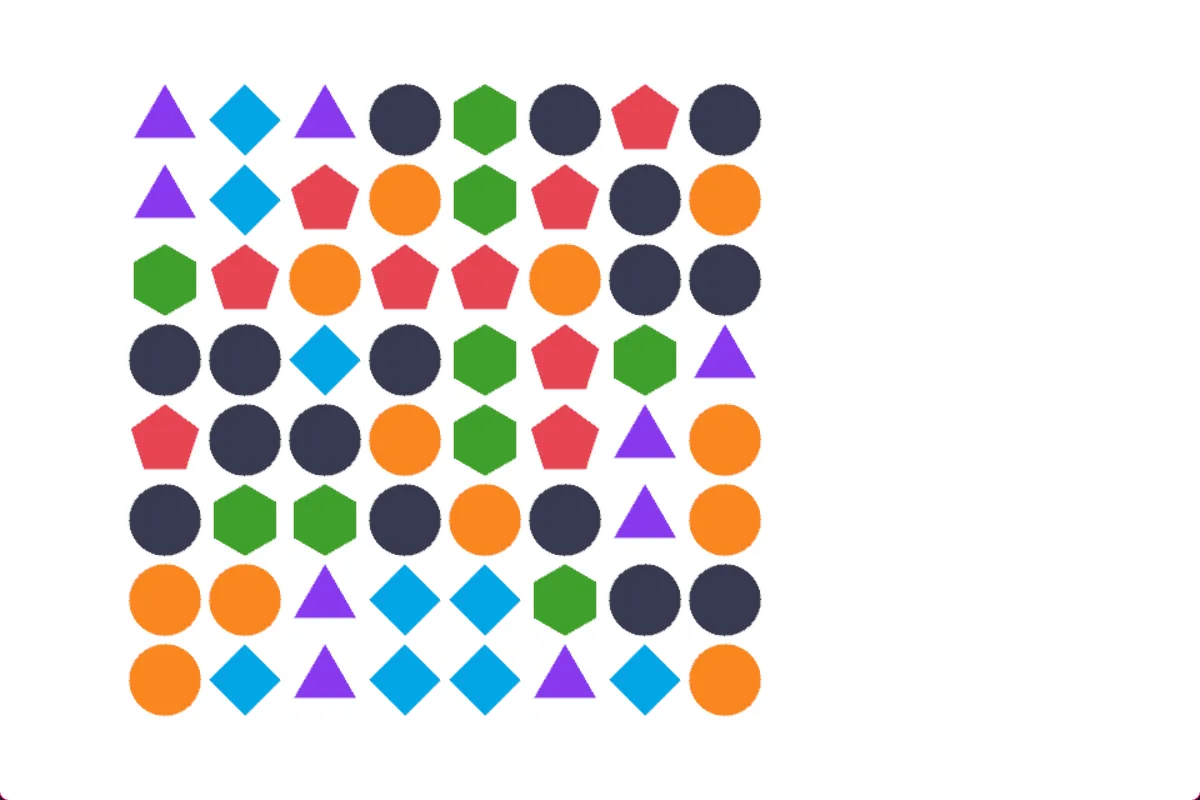
That’s starting to look like a game. Let’s get started on the game logic!
Debug input
Section titled “Debug input”In order to test the game logic, we really should have the ability to affect the game.
We’ll do that by using the mouse to interact with the game. When we click, it’ll mark the cell as selected, and when we click an adjacent cell, it will swap them.
Mouse conversions
Section titled “Mouse conversions”The start we’ll draw a mouse cursor on the grid. We have to convert between a few spaces here:
- From window space (
Input.mouse_x()) to world space (using Camera) - Then from world space to grid space
- And to draw it, from grid space back to world space
We also make sure we track if it’s inside the grid, because we don’t need to interact outside of it.
Add the code to tick like this:
tick(delta: Num) {
  var mouse = Camera.screen_point_to_world(    Camera.get_default(world),    Input.mouse_x(),    Input.mouse_y())
  each {|entity: Entity, data: Data|
    var grid_mouse = world_to_grid(data, mouse.x, mouse.y)    var valid_mouse = in_grid(data, grid_mouse.x, grid_mouse.y)
    if(valid_mouse) {      var mouse_draw_pos = grid_to_world(data, grid_mouse.x, grid_mouse.y)      Draw.rect(draw,        mouse_draw_pos.x, mouse_draw_pos.y, 0,        block_width, block_height, 0, style)    }
    for(y in 0 ... data.height) {      ... //existing code    } //each row
  } //each entity
  Draw.commit(draw)}
Now whenever we move the mouse, this square will follow.
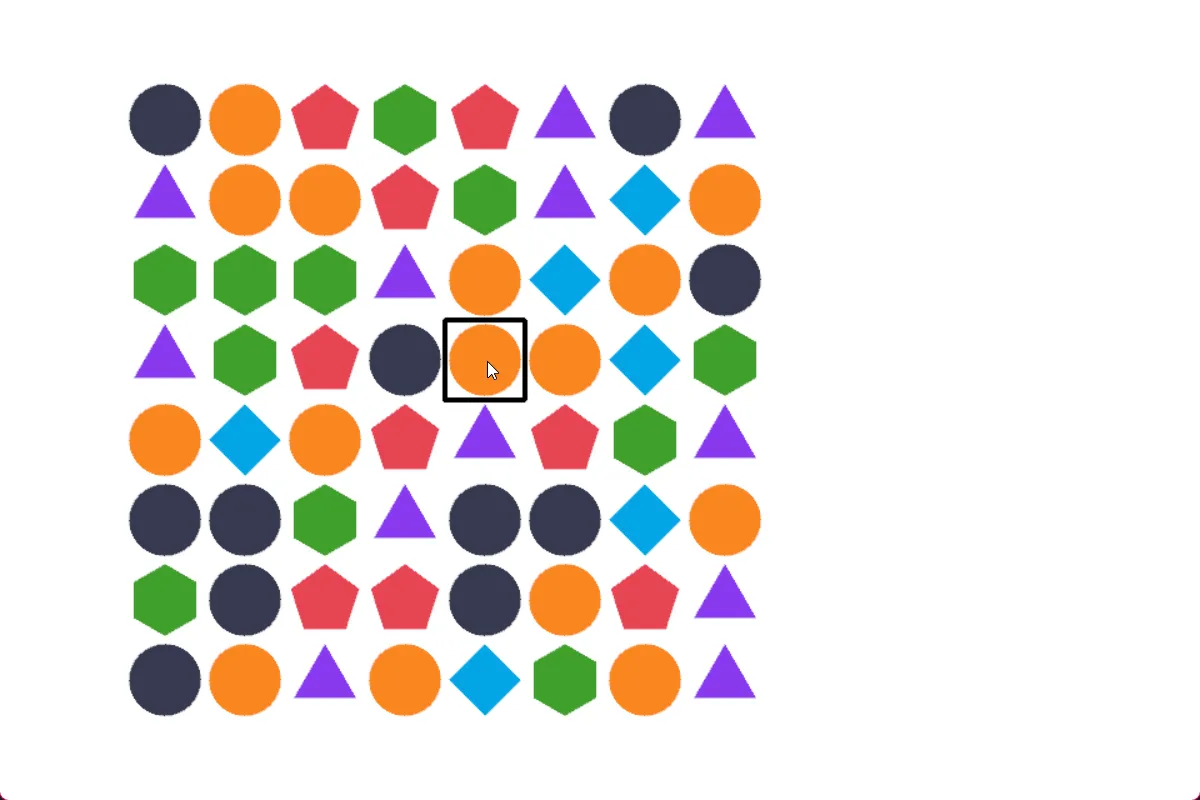
Selected state
Section titled “Selected state”We’ll track the selected state in our Data class. We use -1 to mean “nothing selected”.
class Data {
  ... //existing code
  #doc = "Currently selected cell"  var selected: Float2 = [-1,-1]
}
When a mouse click happens:
- If we had a selection
- and clicked on the same spot, deselect
- clicked somewhere else, check if we can swap
- If we didn’t have a selection
- select it
We can add to the tick function
each {|entity: Entity, data: Data|
var grid_mouse = world_to_grid(data, mouse.x, mouse.y) var valid_mouse = in_grid(data, grid_mouse.x, grid_mouse.y)
var selected = data.selected var had_selected = selected.x != -1 && selected.y != -1 if(had_selected) { var selected_pos = grid_to_world(data, selected.x, selected.y) Draw.rect(draw, selected_pos.x, selected_pos.y, 0, block_width, block_height, 0, style.color(Color.pink)) }
if(valid_mouse) { var mouse_draw_pos = grid_to_world(data, grid_mouse.x, grid_mouse.y) Draw.rect(draw, mouse_draw_pos.x, mouse_draw_pos.y, 0, block_width, block_height, 0, style.color(Color.black))
if(Input.mouse_state_released(MouseButton.left)) { if(had_selected) { var allow_swap = is_adjacent(selected.x, selected.y, grid_mouse.x, grid_mouse.y) if(selected.x == grid_mouse.x && selected.y == grid_mouse.y) { data.selected = [-1, -1] } else if(allow_swap) { //swap(data, selected.x, selected.y, grid_mouse.x, grid_mouse.y) data.selected = [-1, -1] } } else { data.selected = grid_mouse } } //if left click
} //if valid mouse
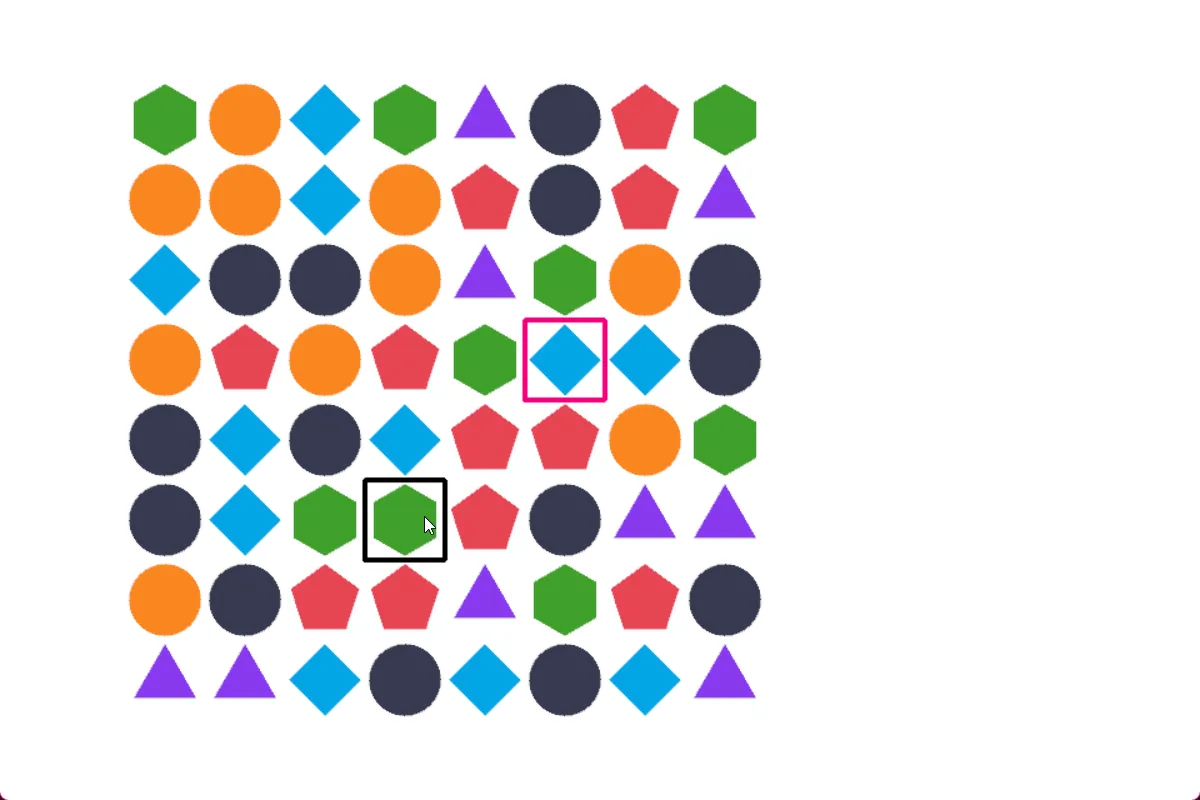
...} // eachWe can now select a grid cell, deselect it, and see the mouse and the selection at the same time:
One of the most important concepts of the game, is being able to swap two pieces on the grid!
We’ll add the swap(...) code, and uncomment the swap line we just added above.
So let’s implement it but with a small bit of nuance. We’re going to split our swap into two parts, the initial step, and a ‘complete’ step. This is for the future, because we’re going to want to be able to animate the swap visually.
For now, we’ll immediately call complete_swap anyway. Add these to your System class.
swap(data: Data, x1: Num, y1: Num, x2: Num, y2: Num) {  if (!is_adjacent(x1, y1, x2, y2)) return false  complete_swap(data, x1, y1, x2, y2)}
complete_swap(data: Data, x1: Num, y1: Num, x2: Num, y2: Num) {  var temp = get_cell(data, x1, y1)  set_cell(data, x1, y1, get_cell(data, x2, y2))  set_cell(data, x2, y2, temp)}
Now uncomment the swap part in tick:
} else if(allow_swap) { //swap(data, selected.x, selected.y, grid_mouse.x, grid_mouse.y) swap(data, selected.x, selected.y, grid_mouse.x, grid_mouse.y) data.selected = [-1, -1]}Here’s what that looks like now:
Finding matches
Section titled “Finding matches”The next important piece of logic for the game is finding where we have matches on the board.
We’ll add a function to our System class that will return a list of matched cells to use in the next step.
The function walks horizontally on each row, looking for tiles with a match. Then it does the same for vertical.
It uses a temporary grid to remember which cells it’s already looked at (marked).
//return a list of matches found on the gridfind_all_matches(data: Data) : List {
  var matches = []  var marked = List.filled(data.height, null)  for (i in 0...data.height) {    marked[i] = List.filled(data.width, false)  }
  // check for horizontal matches  for (y in 0 ... data.height) {    var x = 0    while (x < data.width) {      var kind = get_cell(data, x, y)      if (kind == 0) {        x = x + 1        continue      }
      var count = 1      while (x + count < data.width && get_cell(data, x + count, y) == kind) {        count = count + 1      }
      if (count >= 3) {        for (i in 0...count) {          if (!marked[y][x + i]) {            matches.add([x + i, y])            marked[y][x + i] = true          }        }      }
      x = x + count    } //each column  } //each row
  // check for vertical matches  for (x in 0 ... data.width) {    var y = 0    while (y < data.height) {      var kind = get_cell(data, x, y)      if (kind == 0) {        y = y + 1        continue      }
      var count = 1      while (y + count < data.height && get_cell(data, x, y + count) == kind) {        count = count + 1      }
      if (count >= 3) {        for (i in 0...count) {          if (!marked[y + i][x]) {            matches.add([x, y + i])            marked[y + i][x] = true          }        }      }
      y = y + count    }  }
  return matches
} //find_all_matches
We’ll also call it from complete_swap, which is when we check for matches.
complete_swap(data: Data, x1: Num, y1: Num, x2: Num, y2: Num) {  var temp = get_cell(data, x1, y1)  set_cell(data, x1, y1, get_cell(data, x2, y2))  set_cell(data, x2, y2, temp)
  var matches = find_all_matches(data)  Log.print("found %(matches.count) matches")}
If we look in the log below the window, we’ll see the number of matches being printed:
Processing matches
Section titled “Processing matches”With a list of matches, we need to process them which will remove the state from the grid. For now we’ll immediately clear them from the board.
process_matches(data: Data) {
  var matches = find_all_matches(data)
  while(matches.count > 0) {    for(match in matches) {      var x = match[0]      var y = match[1]      set_cell(data, x, y, 0)    }
    matches.clear()  }

} //process_matches
And we actually need to call it! We’ll add to complete_swap:
complete_swap(data: Data, x1: Num, y1: Num, x2: Num, y2: Num) {  var temp = get_cell(data, x1, y1)  set_cell(data, x1, y1, get_cell(data, x2, y2))  set_cell(data, x2, y2, temp)
  var matches = find_all_matches(data)  if(matches.count > 0) {    process_matches(data)  }}
And now whenever there’s a swap, we can see the pieces being removed from the board:
Dropping blocks
Section titled “Dropping blocks”When we remove blocks from the grid, we typically want the blocks to fall down and fill the empty space below them.
We walk over the grid horizontally, and check for empty tiles. If it’s empty, we loop vertically and move the items downward.
// drop tiles down to fill empty spacesdrop_blocks(data: Data) { for (x in 0 ... data.width) { var write_y = data.height - 1 for (y in (data.height - 1) .. 0) { if (get_cell(data, x, y) != 0) { if (y != write_y) { set_cell(data, x, write_y, get_cell(data, x, y)) set_cell(data, x, y, 0) } write_y = write_y - 1 } } //each row } //each column} //drop_blocksAnd inside of process_matches, drop the blocks downward after clearing them from the grid.
process_matches(data: Data) {
  var matches = find_all_matches(data)
  while(matches.count > 0) {    for(match in matches) {      var x = match[0]      var y = match[1]      set_cell(data, x, y, 0)    }
    //drop tiles downward    drop_blocks(data)
    matches.clear()  }
} //process_matches
If you look closely at the grid before and after, you can see the items above the match are moved down to fill the space where the match takes place.
Filling the gaps
Section titled “Filling the gaps”When blocks fall down, it creates space at the top. We want to fill these spaces with new blocks.
We walk over the grid, if there’s an empty space, put something random there.
Here’s the function to add to the System class:
//fill in empty spaces created by falling blocksfill_top(data: Data) { for (x in 0 ... data.width) { for (y in 0 ... data.height) { if (get_cell(data, x, y) == 0) { set_cell(data, x, y, rng.int(data.block_kinds) + 1) } } //each row } //each column} //fill_topAnd we do need to call it in process_matches:
process_matches(data: Data) {
  var matches = find_all_matches(data)
  while(matches.count > 0) {    for(match in matches) {      var x = match[0]      var y = match[1]      set_cell(data, x, y, 0)    }
    //drop tiles downward    drop_blocks(data)    //fill the new spaces made    fill_top(data)
    matches.clear()  }
} //process_matches
And if we look closely again (it can be tricky to tell!) the spaces are now filled in.
Cascading changes
Section titled “Cascading changes”One final piece of gameplay logic is that matches cause blocks to fall, new blocks to spawn, and then more matches can happen as a result.
In process_matches we don’t clear the matches, we check for new ones!
process_matches(data: Data) {
  var matches = find_all_matches(data)
  while(matches.count > 0) {    for(match in matches) {      var x = match[0]      var y = match[1]      set_cell(data, x, y, 0)    }
    //drop tiles downward    drop_blocks(data)    //fill the new spaces made    fill_top(data)
    // cascading changes if we find any more    matches = find_all_matches(data)  }
} //process_matches
It’s still pretty hard to tell what’s happening! Especially when there are multiple rounds of changes!
Bonus logic
Section titled “Bonus logic”One more piece for a more complete game, is a check if there are any valid moves.
We can do that by walking the grid, swapping horizontally and looking for matches. Then we can swap vertically, and look for matches. If we have any along the way, we return true.
(This is how you would handle game over).
You can add this to your System class:
has_valid_moves(data: Data) {
  for (y in 0 ... data.height) {    for (x in 0 ... data.width) {
      // try swapping with right neighbor      if (x < data.width - 1) {        var temp = get_cell(data, x, y)        set_cell(data, x, y, get_cell(data, x+1, y))        set_cell(data, x+1, y, temp)
        var matches = find_all_matches(data)
        // swap back        var temp2 = get_cell(data, x, y)        set_cell(data, x, y, get_cell(data, x+1, y))        set_cell(data, x+1, y, temp2)
        if (matches.count > 0) return true      }
      // try swapping with bottom neighbor      if (y < data.height - 1) {        var temp = get_cell(data, x, y)        set_cell(data, x, y, get_cell(data, x, y+1))        set_cell(data, x, y+1, temp)
        var matches = find_all_matches(data)
        // Swap back        var temp2 = get_cell(data, x, y)        set_cell(data, x, y, get_cell(data, x, y+1))        set_cell(data, x, y+1, temp2)
        if (matches.count > 0) return true      }
    } //each column  } //each row
  return false
} //has_valid_moves
We can also test it by calling it at the end of complete_swap.
complete_swap(data: Data, x1: Num, y1: Num, x2: Num, y2: Num) {  var temp = get_cell(data, x1, y1)  set_cell(data, x1, y1, get_cell(data, x2, y2))  set_cell(data, x2, y2, temp)
  var matches = find_all_matches(data)  if(matches.count > 0) {    process_matches(data)  }
  var has_moves = has_valid_moves(data)  Log.print("has moves left `%(has_moves)`")}
Next time!
Section titled “Next time!”That’s all for this tutorial.
We have a working match 3 game, but it’s a little difficult to understand the changes happening visually.
In the next tutorial, we’re going to add animation to the grid changes, so we can see what’s actually happening.