
Installing Luxe
Below we’ll get the pieces we need to work with luxe.
Download the luxe launcher
Section titled “Download the luxe launcher”- Get the luxe launcher
- Run the launcher, it’ll offer to install the latest version
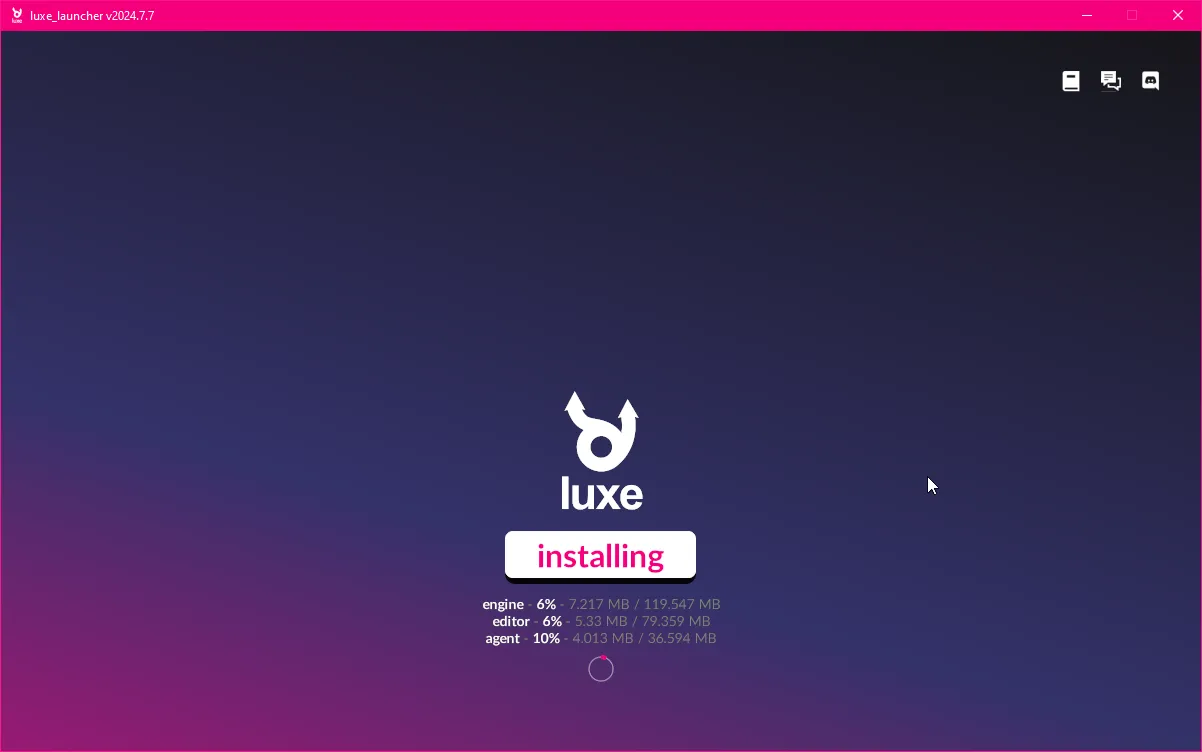
- This will install the engine, editor and agent
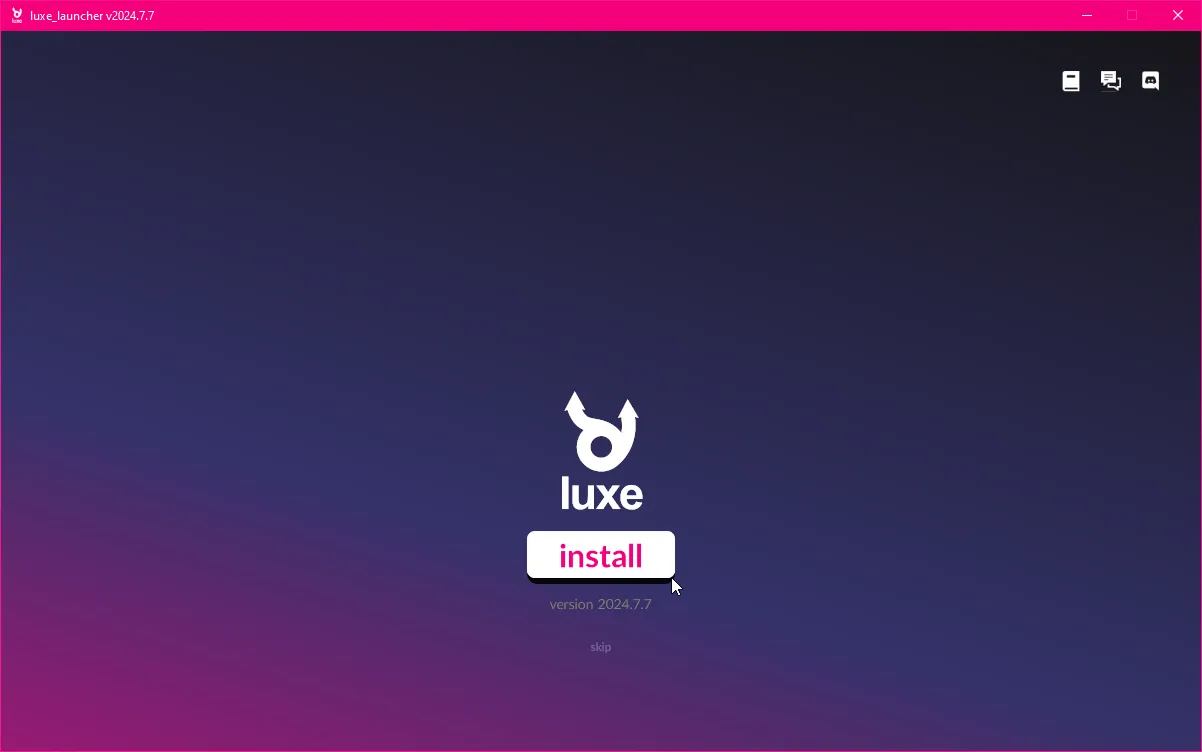
- Progress will be shown under the install button
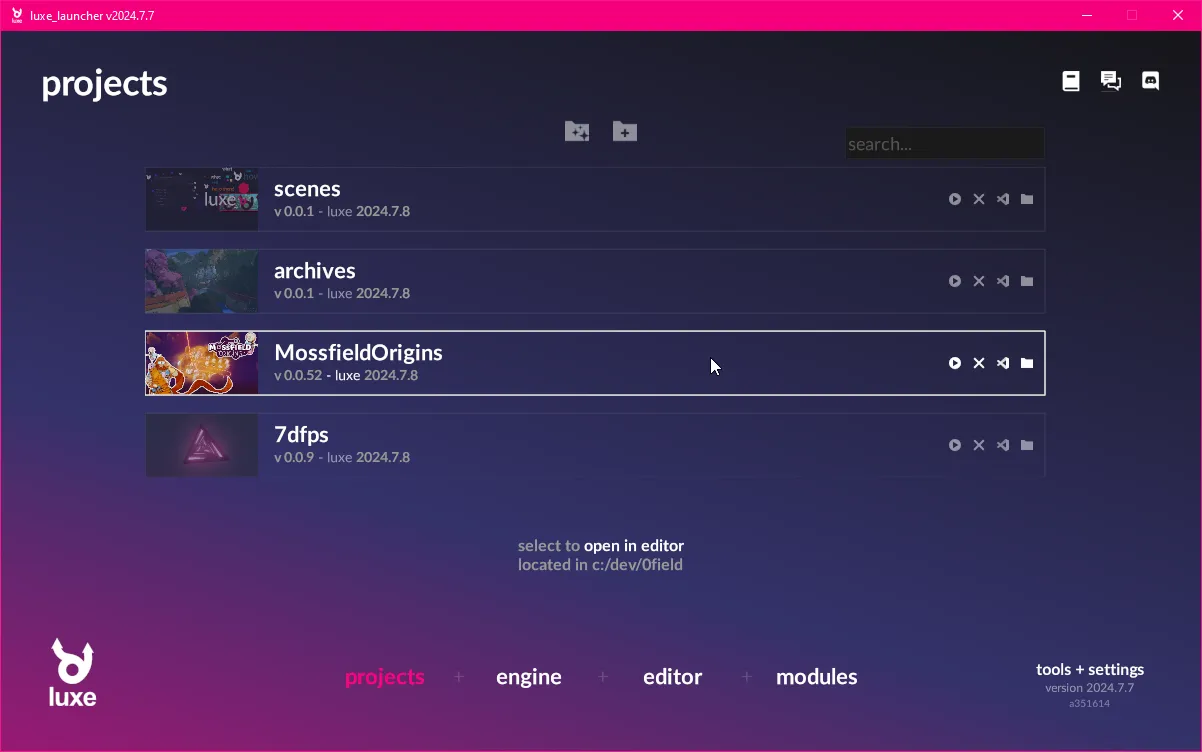
- After installing, you should see this
![]()
- Once you’ve created or added projects, it will look like this
Installing code editor support
Section titled “Installing code editor support”Currently the primary supported code editor is Visual Studio Code.
It’s a free cross platform editor with great support for custom extensions. The extension includes features like code completion, jump to definition, and so on.
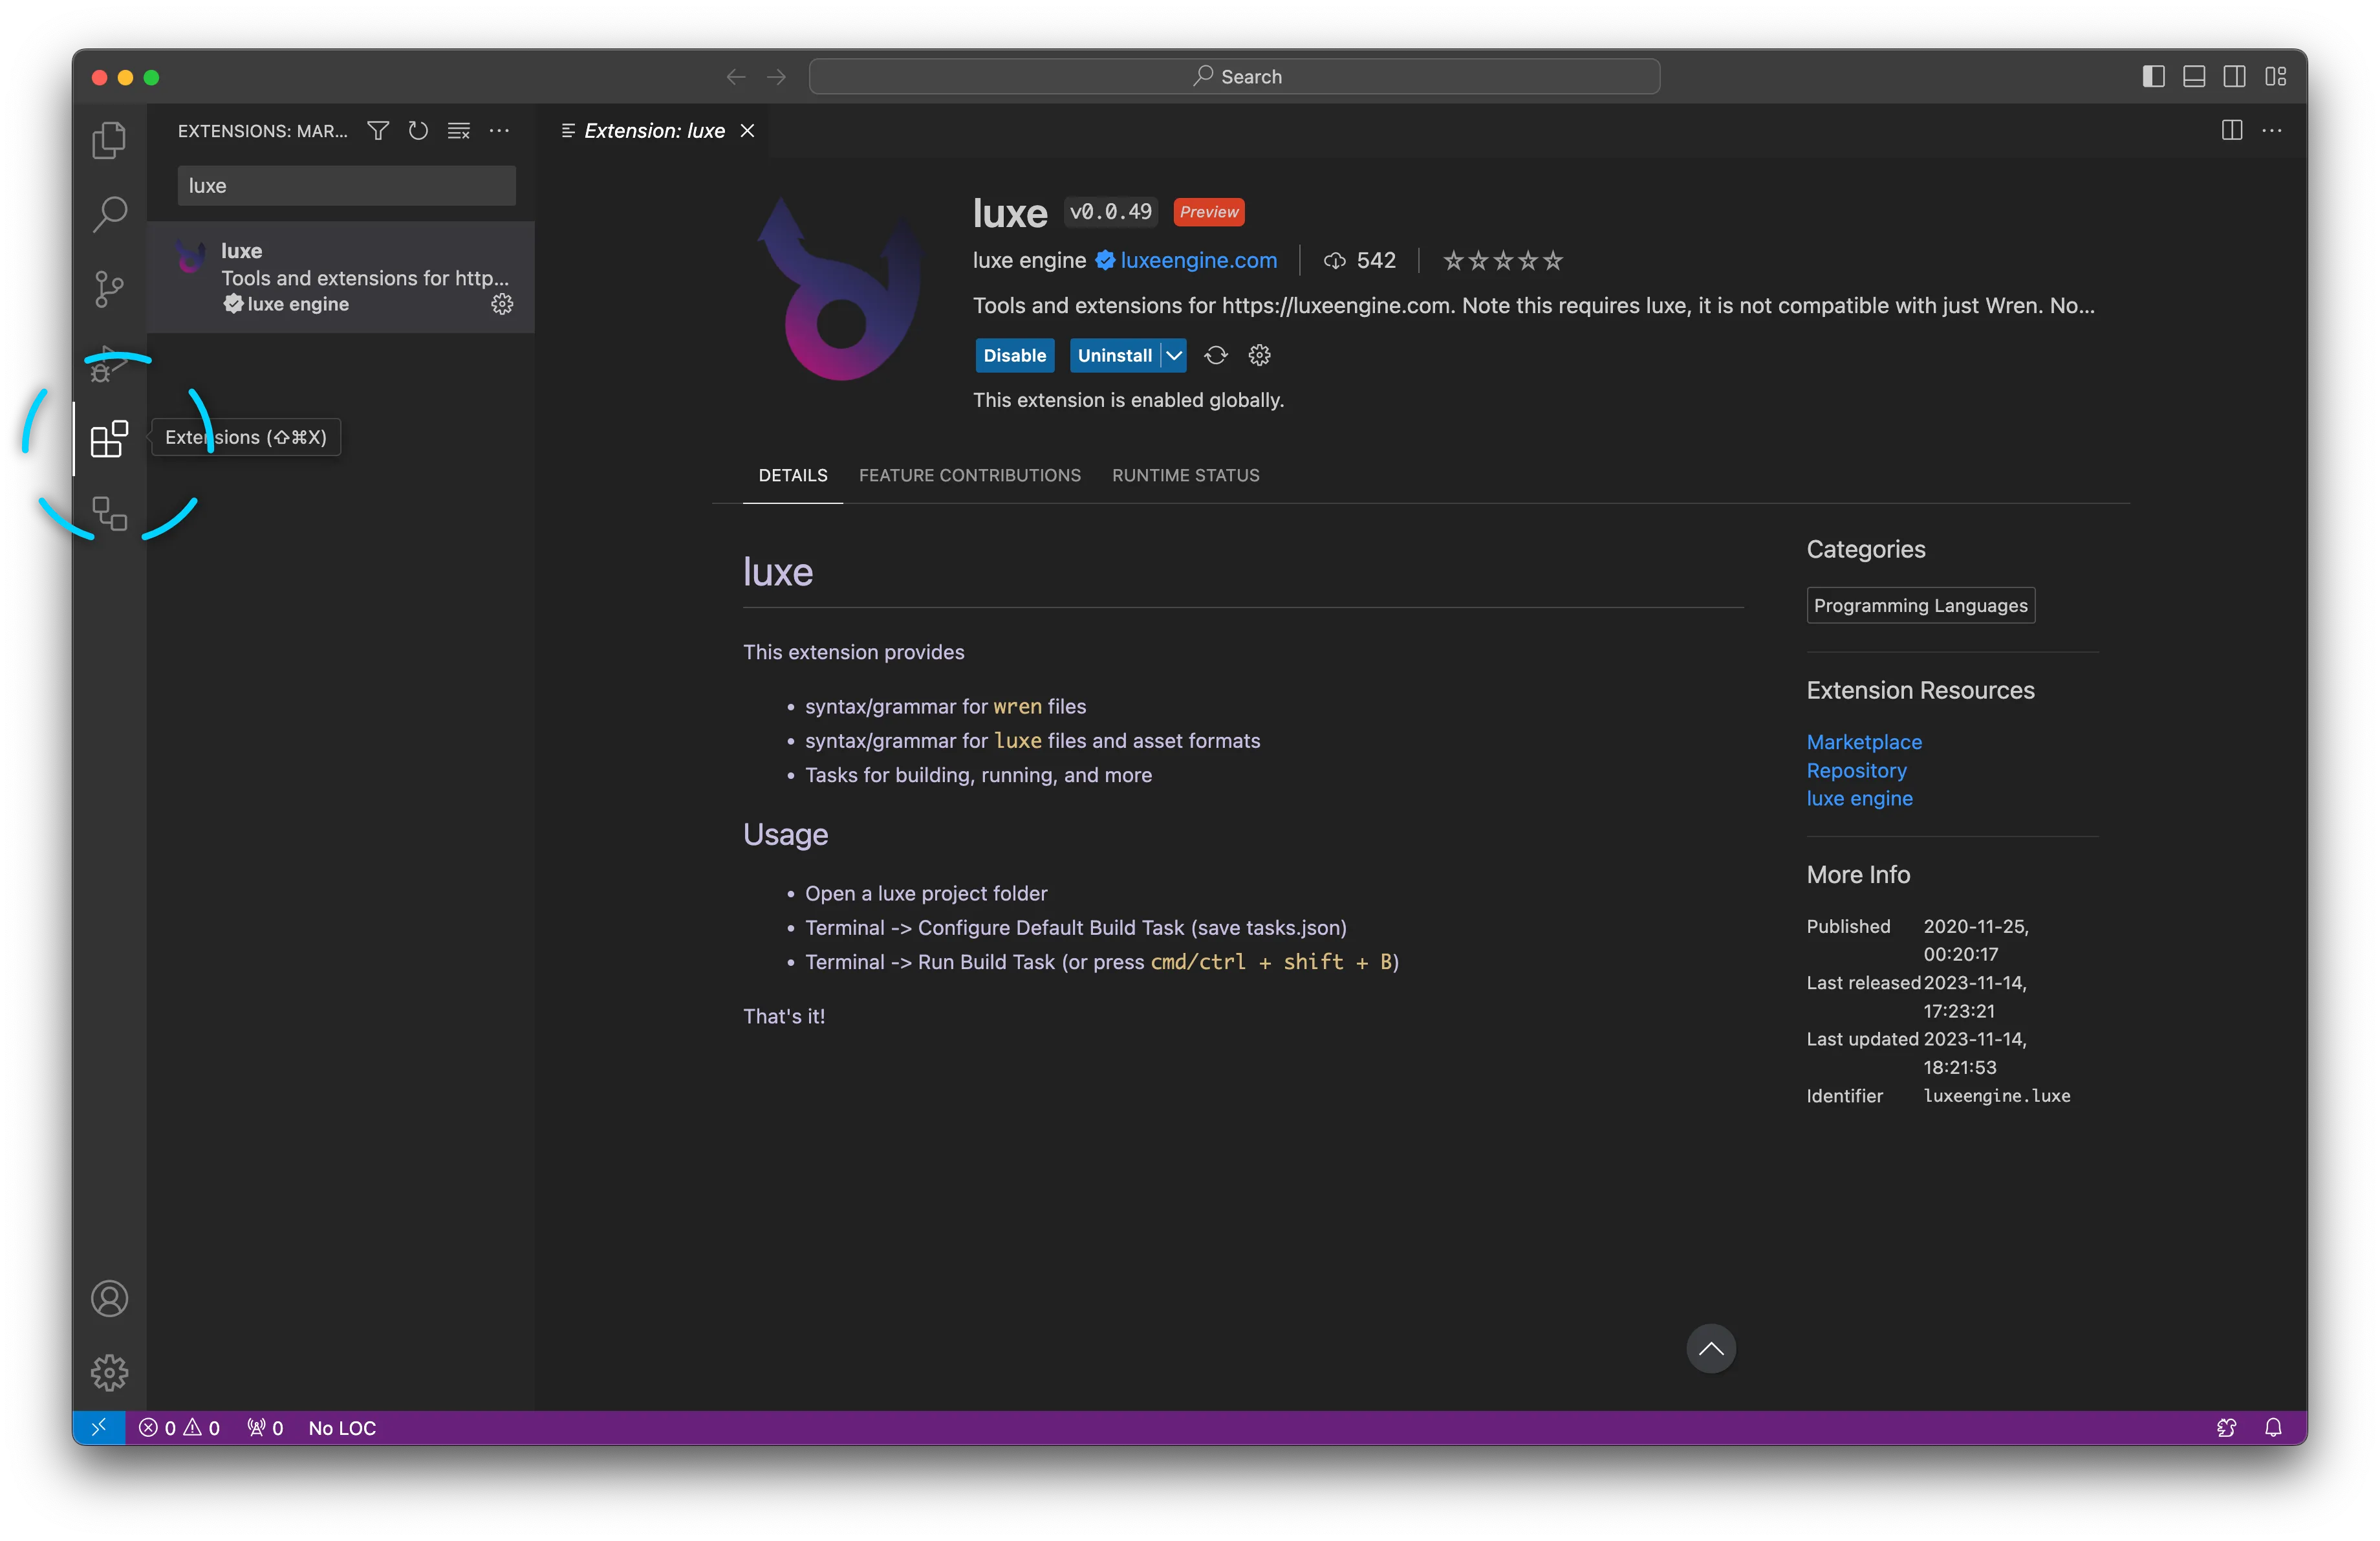
To install support for luxe, open the extensions panel.
This is an icon on the side bar, or found via the View -> Extensions menu.
Search the extensions for ‘luxe’ and when found, select ‘install’.
(Make sure it’s the official one). View the extension in the marketplace..
Linux details
Section titled “Linux details”Linux makes things a little more nuanced. We’re working to improve the workflow.
To install the launcher you have a few options:
AppImage
Section titled “AppImage”An AppImage is a pre-bundled application ready to use. Once you download it, you might have to make it executable first. This varies by distro, if you double click, some pop up a message asking if you want it executable. Sometimes you can right click and view properties, making it an executable. Othertimes you have a right click -> Run as program option.
If you need to, you can use the terminal:
cd <path where you downloaded it to>chmod +x luxe_launcher-2025.11.1.AppImageZip file
Section titled “Zip file”The zip file contains a plain ELF binary. You might need to mark it executable as well. Similar to the app image section, you can use your distro option, or you can use terminal:
cd <path where you downloaded it to>/luxe_launcher-2025.11.1/chmod +x luxe_launcher-2025.11.1If your distro still doesn’t let you run it, you might need to run via terminal too:
./luxe_launcher-2025.11.1